RASA 8" first light and tests

NOTA: This article has been published in Issue 96 of Amateur Astrophotography Magazine
Since I was unable to do astrophotography during confinement in 2020 and early 2021, I used that time to study different combinations of equipment.
I decided that I wanted to have two astrophotography equipments:
- The portable equipment: One of them would be a light equipment using the AZ-GTi and following the line of maximizing performance while minimizing the weight and volume of the equipment.
- The main equipment: I wanted the other equipment to be powerful regardless of size or weight (as long as the increase in size / weight was justified by an increase in equipment performance).
In this article I will talk about this second configuration.
After I had been looking for some gear for a while, my colleague Raúl put his EQ6 Pro up for sale, so even though I was looking for a HEQ5, I eventually bought his mount and thus had a mount with a higher load capacity.
I already owned the rest of the equipment, as I had dedicated cameras for capture and guiding, guide scope, off-axis guider ... However, I needed to update the telescope.
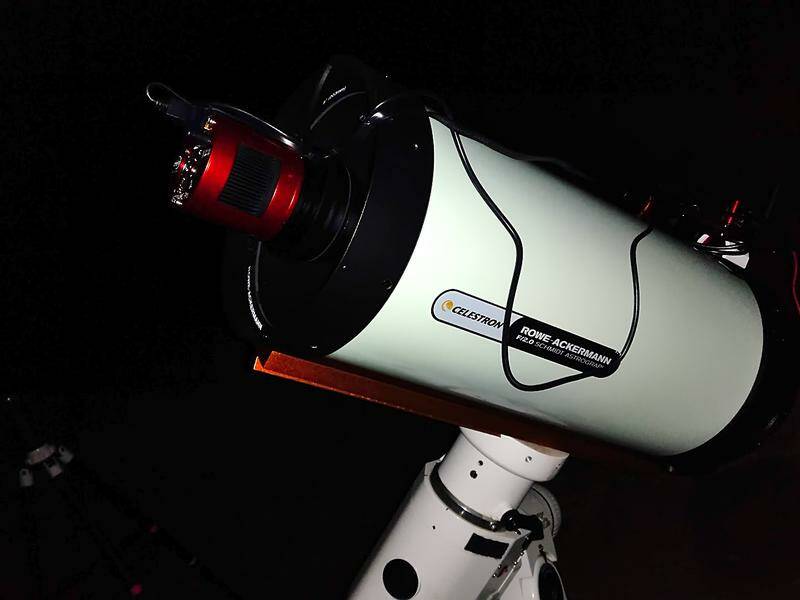
After examining various options and talking a lot with my colleagues, I decided that the best option for me was the 8-inch Celestron RASA.
The RASA 8"
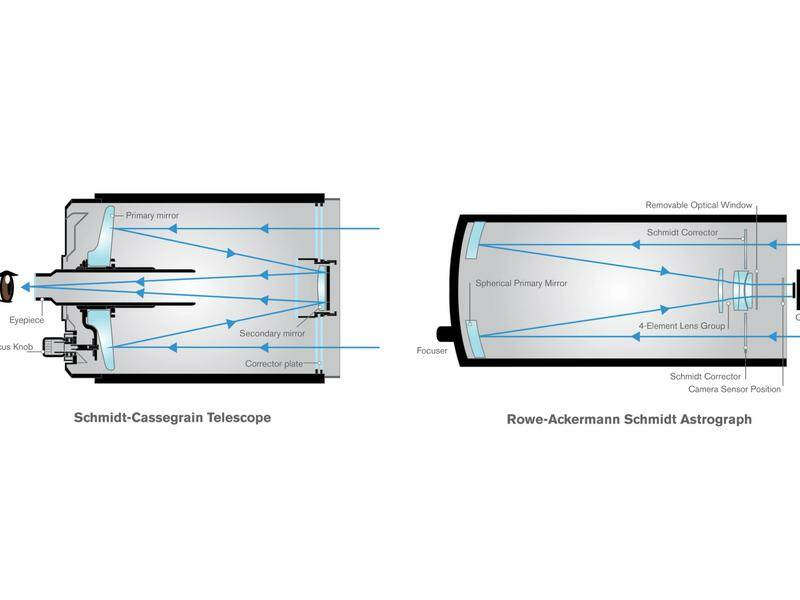
The Celestron RASA (Rowe-Ackermann Schmidt Astrograph) 8 "is a telescope from the group of so-called "astrographs" characterized by a great capacity for capturing light.
In this case it is a Schmidt Cassegrain design telescope, but the camera is placed where the secondary mirror would go, at the front of the telescope.
The RASA 8 "has a focal length very similar to that of the 72ED, which allows me to continue photographing objects similar to those I have been capturing until now.
However, the RASA has an aperture of 204mm, which makes its focal ratio f2.0. Compared to the 72mm on the 72ED, it's a big difference.
Doing the math, the RASA has a light gathering capacity almost 8 times higher than the 72ED. That means, to get the same result I get in a single night with the RASA, I should need 8 times longer exposure time with my previous 72ED. That's 8 nights of observation for a single object, which is unfeasible for me.
One of the reasons I chose the RASA was that, due to my personal circumstances, I don't go out for observation often. If time helps and my obligations allow it, at most I go out 3 observation times in a month, so the only way to obtain enough data to get an image with an acceptable quality was to increase the photon capture capacity of my equipment.
Also, the RASA works very well with the ASI294MC-Pro. The sensor is sized appropriately for the image projected at the telescope output.
RASA specific problems
Although the RASA is an awesome telescope, like everything, it has its negative points.
The first thing is that it is a more bulky telescope for such a short focal length. A refractor of that focal length weighs much less and takes up less space.
The second thing is that it is a very sensitive telescope to differences in backfocus and tilt of the sensor.
Normally, telescopes have an optimal positioning distance from the camera both to ensure that we can focus with it, and to avoid optical aberrations due to being too close or too far from the projected image.
Typically, being outside the recommended distance creates artifacts in mostly in the external area of the image.
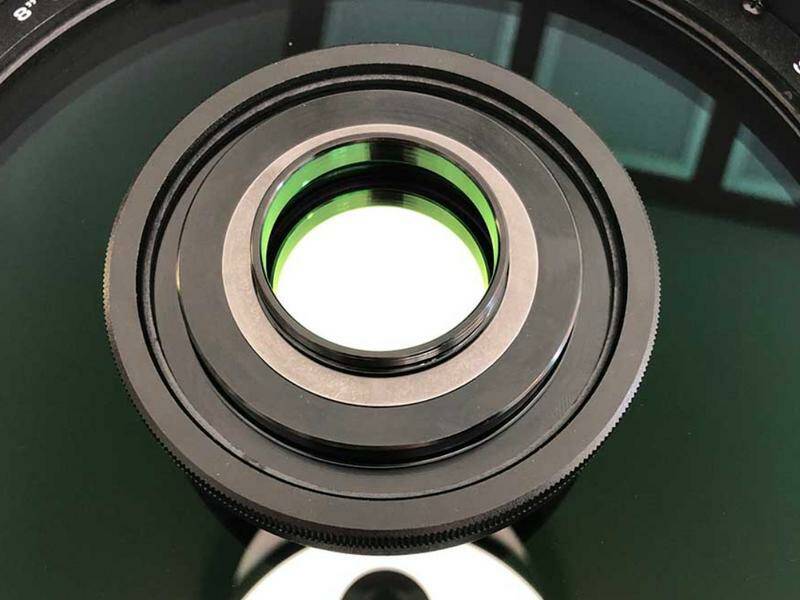
In the case of the RASA, the recommended distance is a very specific distance of 28.33 mm with a margin of 0.5 mm up or down. So concrete that if we go a little out of that distance the stars at the edges in the image begin to distort.
The adapter that best suited what I needed and that also gave me the possibility of using filters with the RASA was the Artesky 2 "adapter for the RASA 8". It allows to fit a filter and has the right distance for ZWO ASI cameras.
On the other hand, the same happens with the inclination of the camera sensor. A miniscule difference in camera sensor tilt will show stars out of focus at one edge and probably the other way around as well.
In my case, what I did was to buy the tilt adjustment of the ZWO cameras for my ASI294MC-Pro.

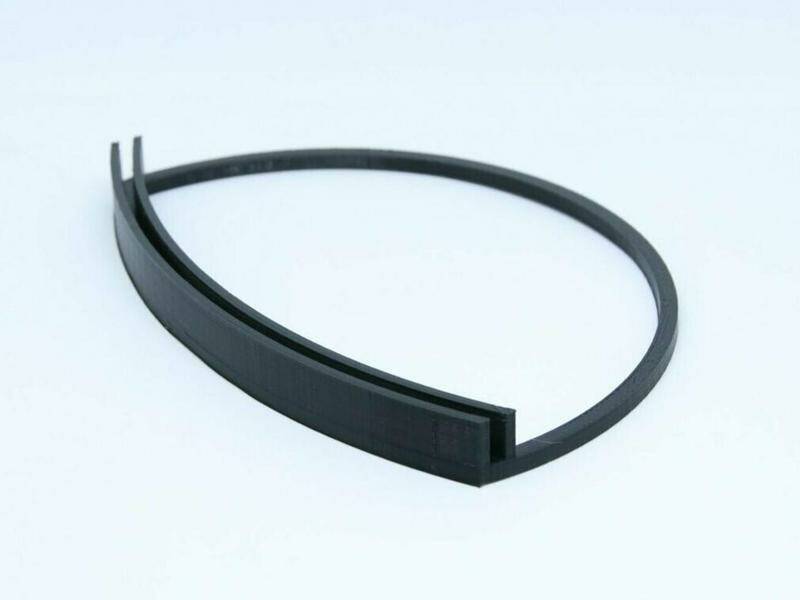
There is also another small problem. Since the camera is at the front, the cables generate diffraction patterns in the images.
There are several ways to fix this, but there is a 3D printed adapter that allows cables to be routed in a curve so that optical aberrations are less apparent.
The last problem I had to solve was the flats. Having the camera in front of the telescope, we can't use a conventional flats panel, so the best way to solve this issue is to put a lens hood on the telescope and put the flat panel over the lens hood.
Initial tests
As soon as I could get out with the RASA, I did several tests to check its performance and fine-tune the necessary settings.
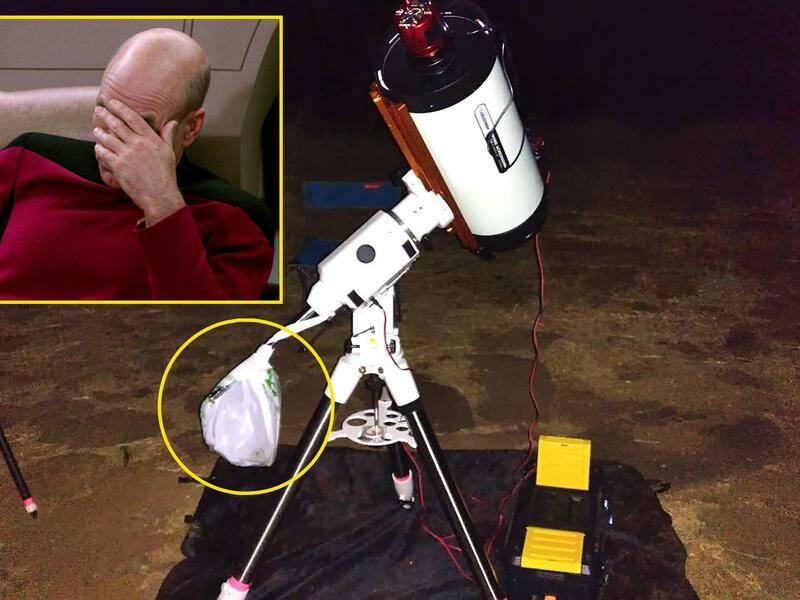
The first day, in addition to being a full moon day, I forgot to take with me the counterweights of the mount. To add insult to injury, the mount's WiFi adapter was not connecting properly with the ASIAIR, so thanks to my friend Victor lending me the EQ6 controller for some minutes, I was able to put it on tracking mode without guidance. The counterweight problem was solved by using a supermarket plastic bag with some stones inside attached to the counterweight rod (McGyver approves).
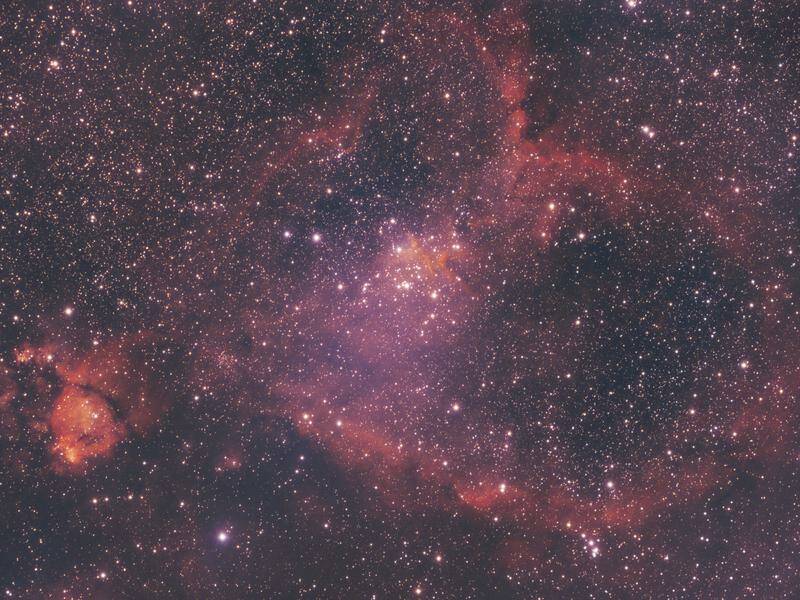
Still, and since the RASA shots can be quite short, I was able to capture quite a few shots of the IC1805 Heart Nebula.
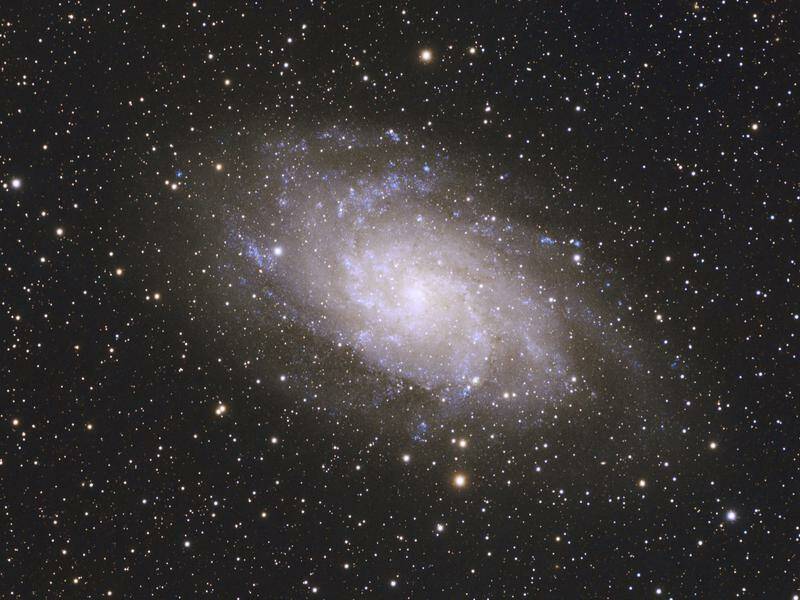
The second day I already had all the equipment tested before going out, so when I arrived, I assembled the equipment and shot directly at M33. I didn't have the lens hood yet, so I couldn't take flats. Still the shoot went pretty well and I got a good picture of the Triangle galaxy.
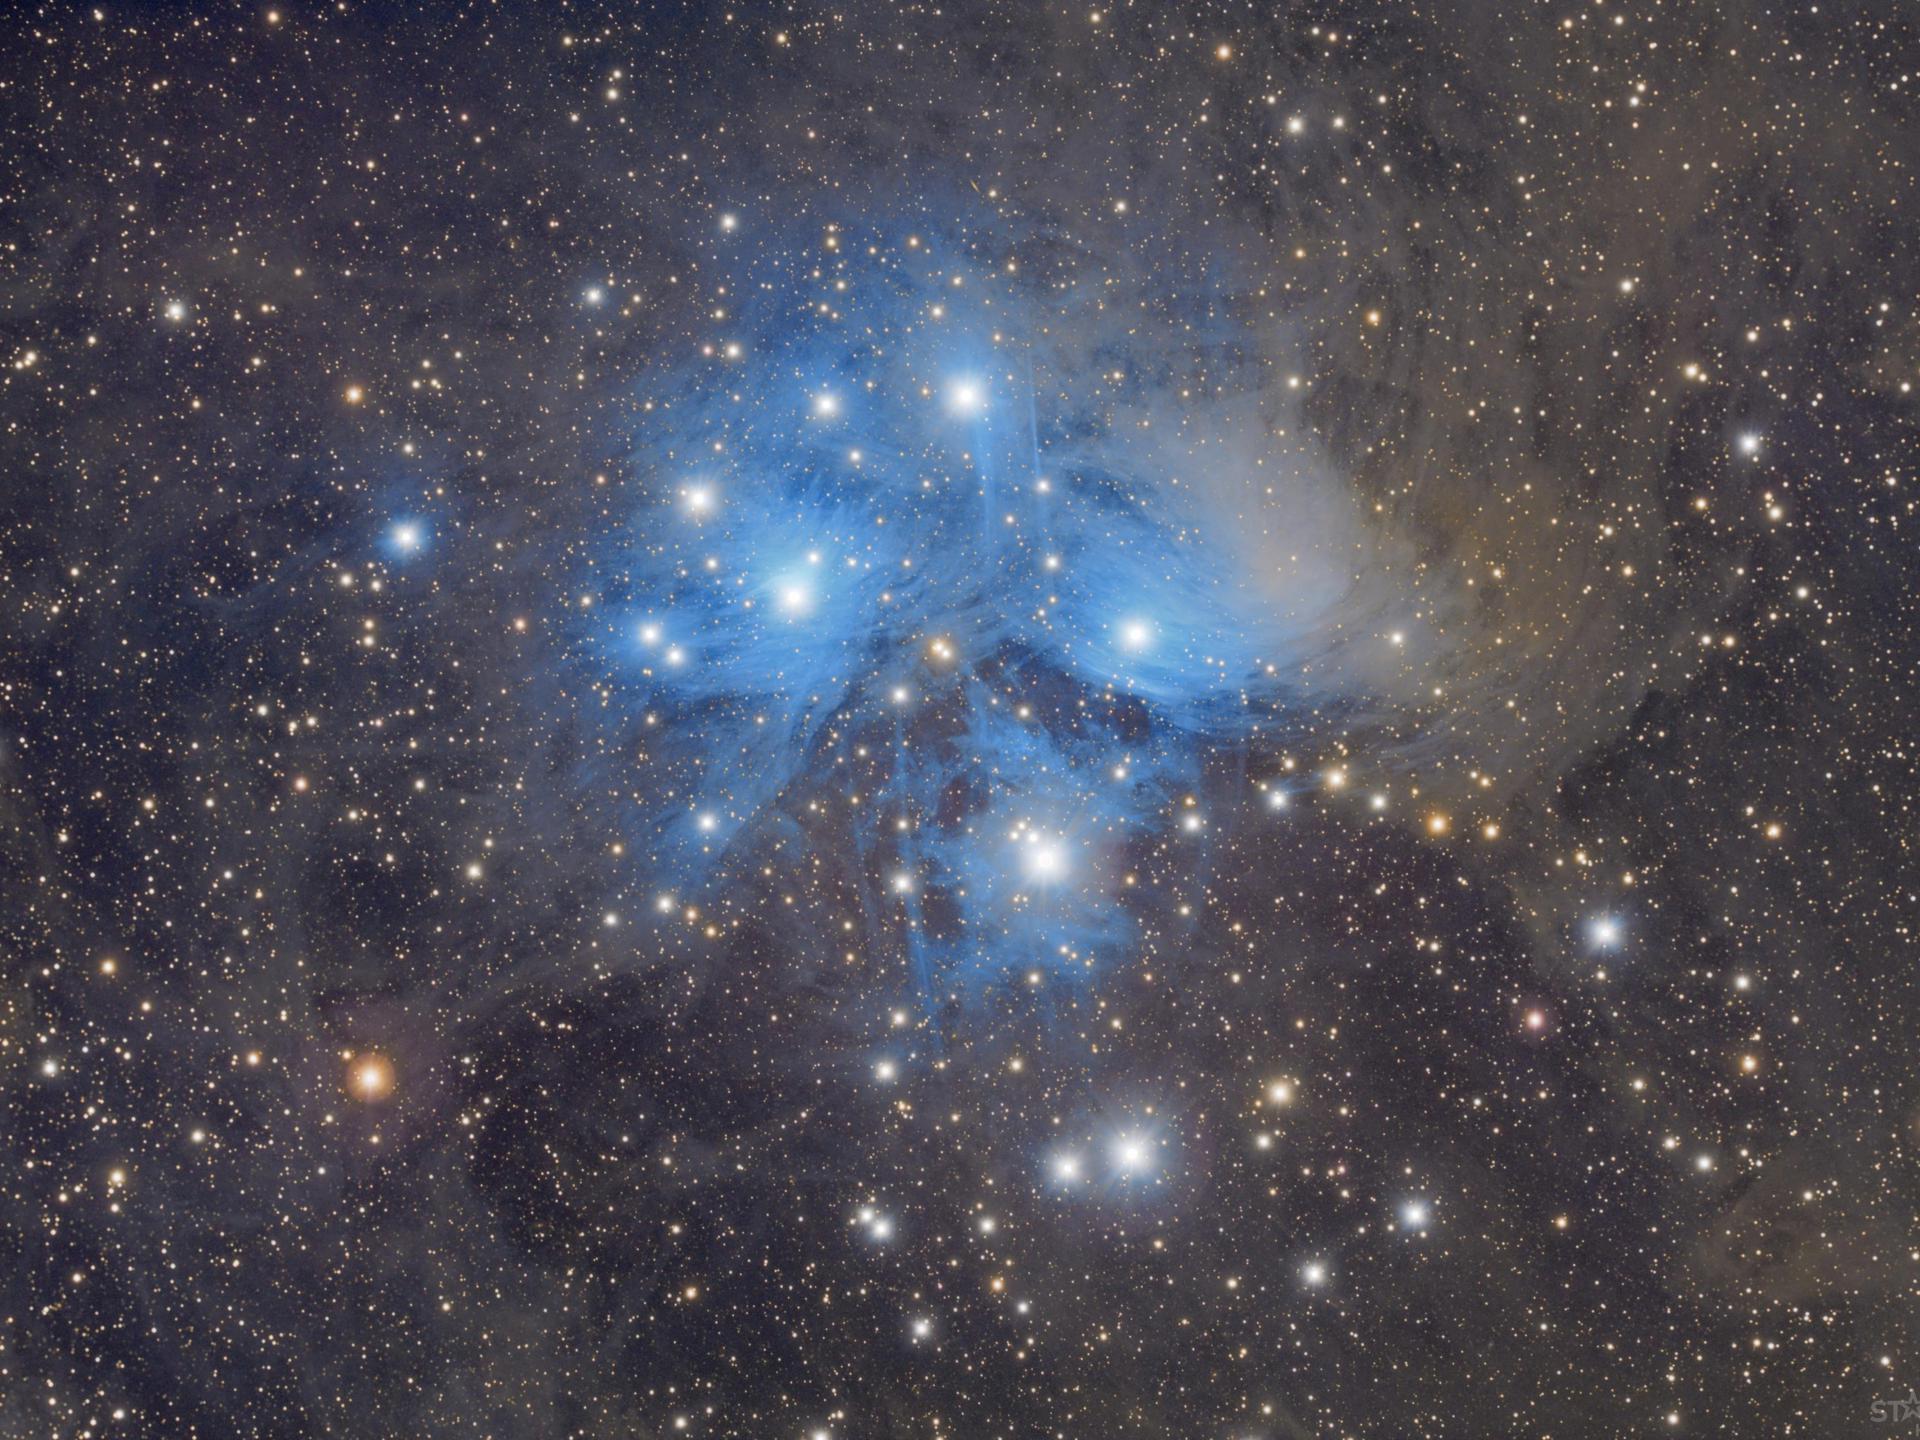
After those two test sessions, I had enough control over the equipment to do a serious session with the RASA. I chose the Pleiades as my target. A star cluster that I had already tried to capture when I started in astrophotography and I was waiting to shoot again for a long time.
I managed to get about 250x60 seconds shots, and this time I was able to get the flats with a homemade lens hood.
In this video that I have published on my YouTube channel you can see the individual captures I made for the Pleiades.
Conclusions
The RASA 8 "is one of the best investments I have made in this hobby. Only with the savings in time and the results I obtain it seems to me a very solid investment. Now, with a single night of exposure I obtain a huge amount of data to process.
Perhaps the only downside that I can give it for now is that I have not yet managed to get the stars on the edges to be perfectly focused due to a possible tilting of the sensor.
I've already bought the adapters I needed and have been working on a homemade sensor collimation system based on a method I found on Cloudy Nights, so I hope to resolve this issue shortly.