Skywatcher 72ED - My first telescope for astrophotography
NOTE: This article has been published in issue 72 of Amateur Astrophotography Magazine
After some time taking pictures with the material I had, I realized that I had reached a "ceiling" with the telephoto lens.
I could not get clear photos and focusing well was complicated, so I would have no choice but to get a better telephoto lens for astrophotography if I wanted to overcome that ceiling.
After analysing many telephoto lenses, I realized that any focal telephoto lens greater than 300mm with a decent quality doubles its price and in the brightest ones the price skyrocketed exponentially, so looking for a decent lens with acceptable characteristics, I realized that I was going to have to pay a minimum of 600€.
With that bleak panorama before me, I started looking for telescopes, which are usually cheaper and are designed specifically for astronomy and astrophotography.
Not all telescopes works the same. There are telescopes of many types and for all kinds of needs, but the most similar to a camera lens is the refractor telescope.
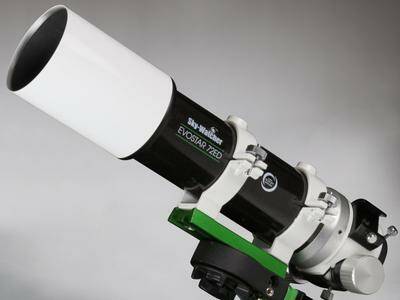
The Skywatcher 72ED
I had been told that there was a small and very transportable refractor telescope with an interesting focal length. That telescope also had a much lower cost than any moderately acceptable telephoto lens, so after seeing several photos taken with the telescope at Astrobin, I decided to order it.
The telescope is the Skywatcher 72ED with a weight of less than 2kg, 420mm focal length and 72mm apperture. A focal ratio of f5.8, which is not bad given it's magnifying capabilities.
The 72ED is an apochromatic refractor. This means that it hardly shows chromatic aberrations when the light passes through the lenses. Achromatic telescopes do have a greater chromatic aberration.

This telescope has allowed me to take very good photos (compared to what I was doing so far), although there will always be room for improvement.
The differences with a camera lens are quite few. Refractors works as a prime lens, but thet are not being prepared specifically for cameras, so you have to take into account some issues that I address in the following lines.
Place the camera
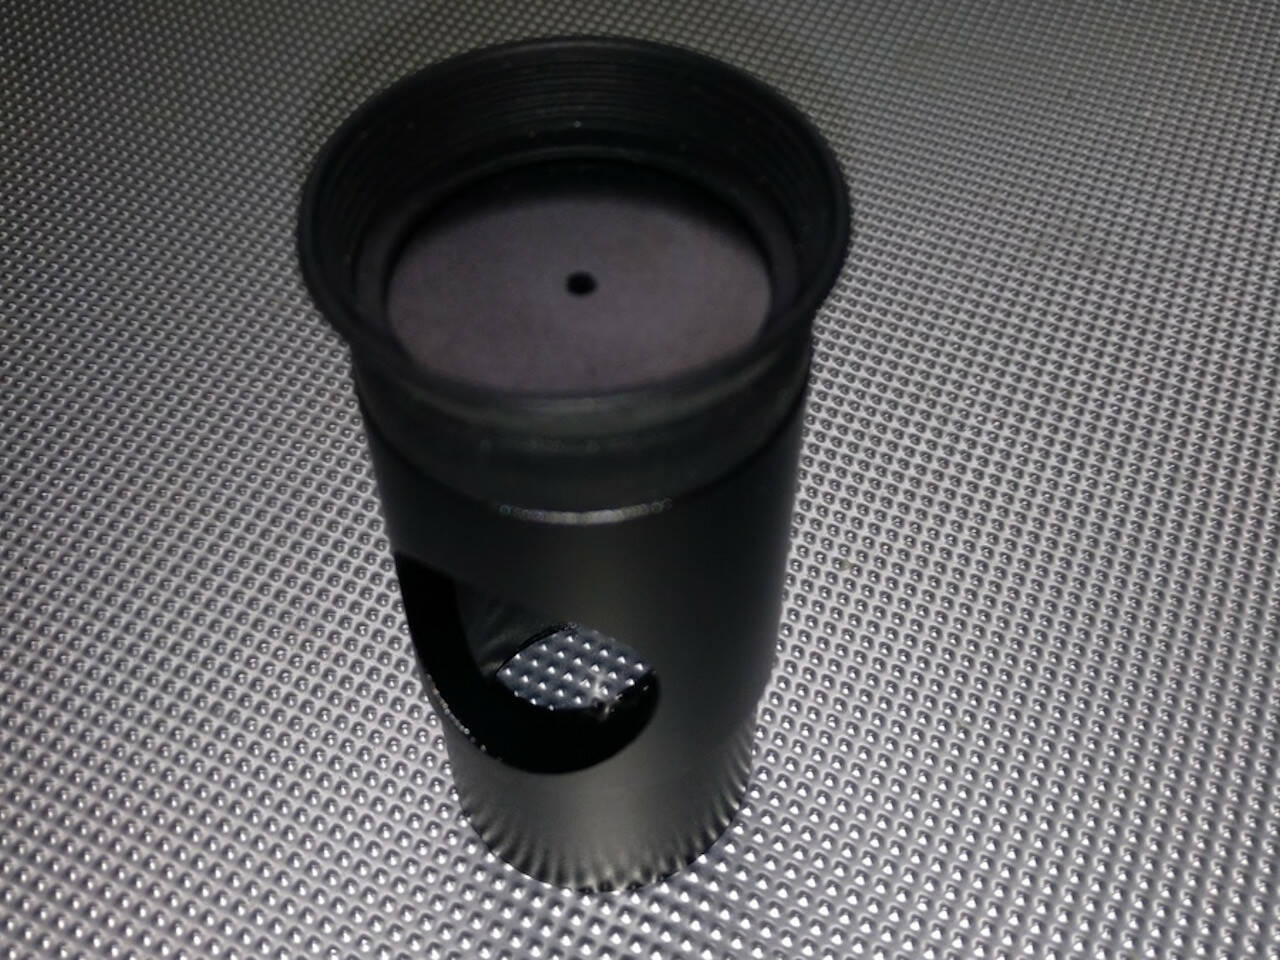
To place the camera in a telescope you need an additional accessory or several, depending on our configuration. In my case, with a DSLR, I only needed a T2-EOS adapter ring that would allow the camera to be connected to any telescope with a T2 thread.
The problem is that the 72ED does not come with any T2 thread, but an opening to introduce 2-inch eyepieces, so I designed a plastic part I could screw the T2 ring to and use it to introduce it as an eyepiece in The telescope itself. You can buy also a t2 to 2inch adapter with the camera adapter included or without-it
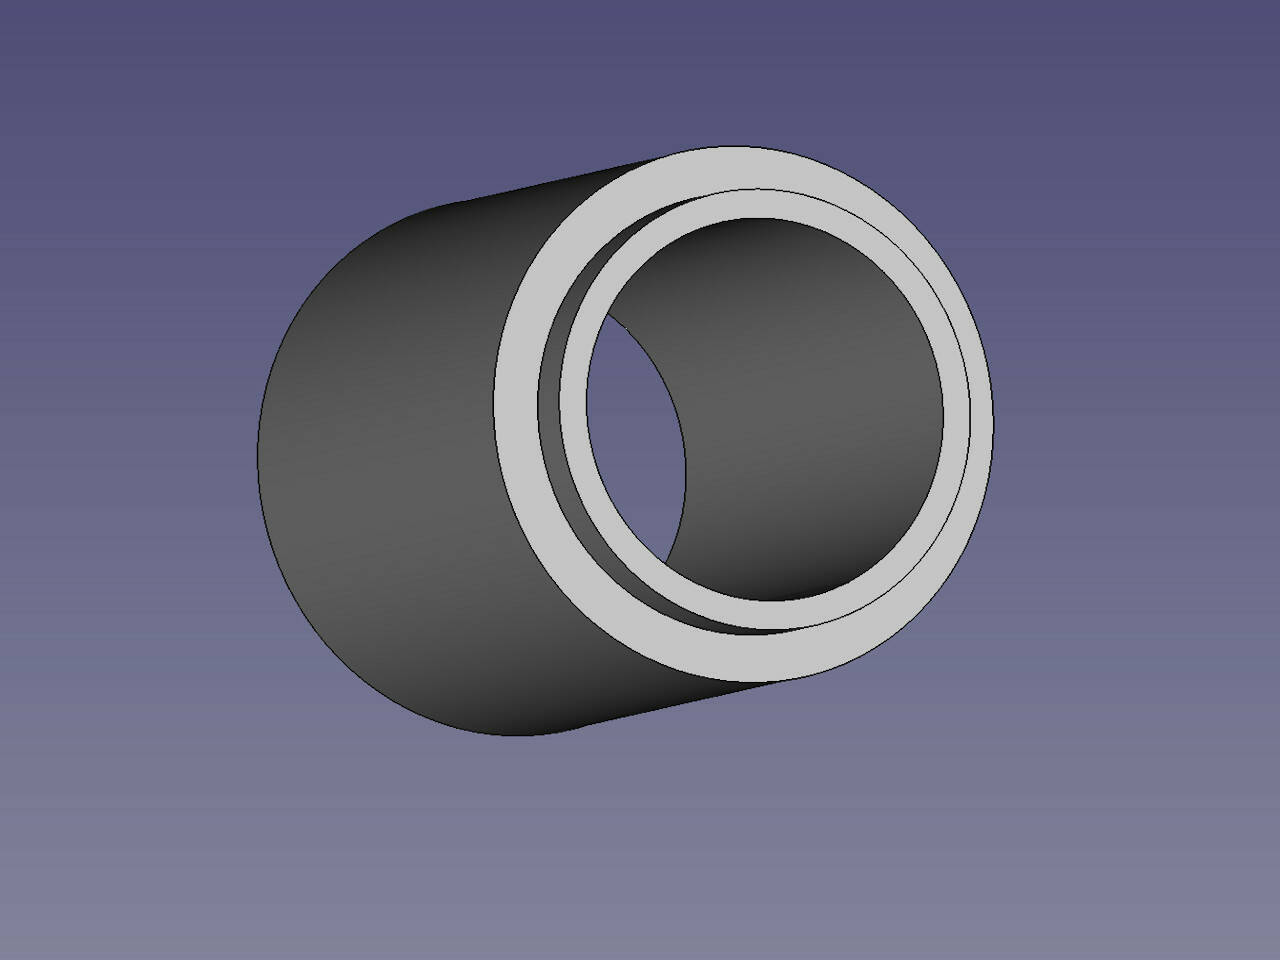
With that part I was ready to make my first session with the 72ED, so I adjusted the pieces and went to take pictures.
Focus
The focus on telescopes is done through the use of a wheel called focuser. In the case of 72ED this focuser is a dual speed focuser. It has two wheels, one for the initial adjustment, and the other for fine adjustment, which allows focusing very precisely.
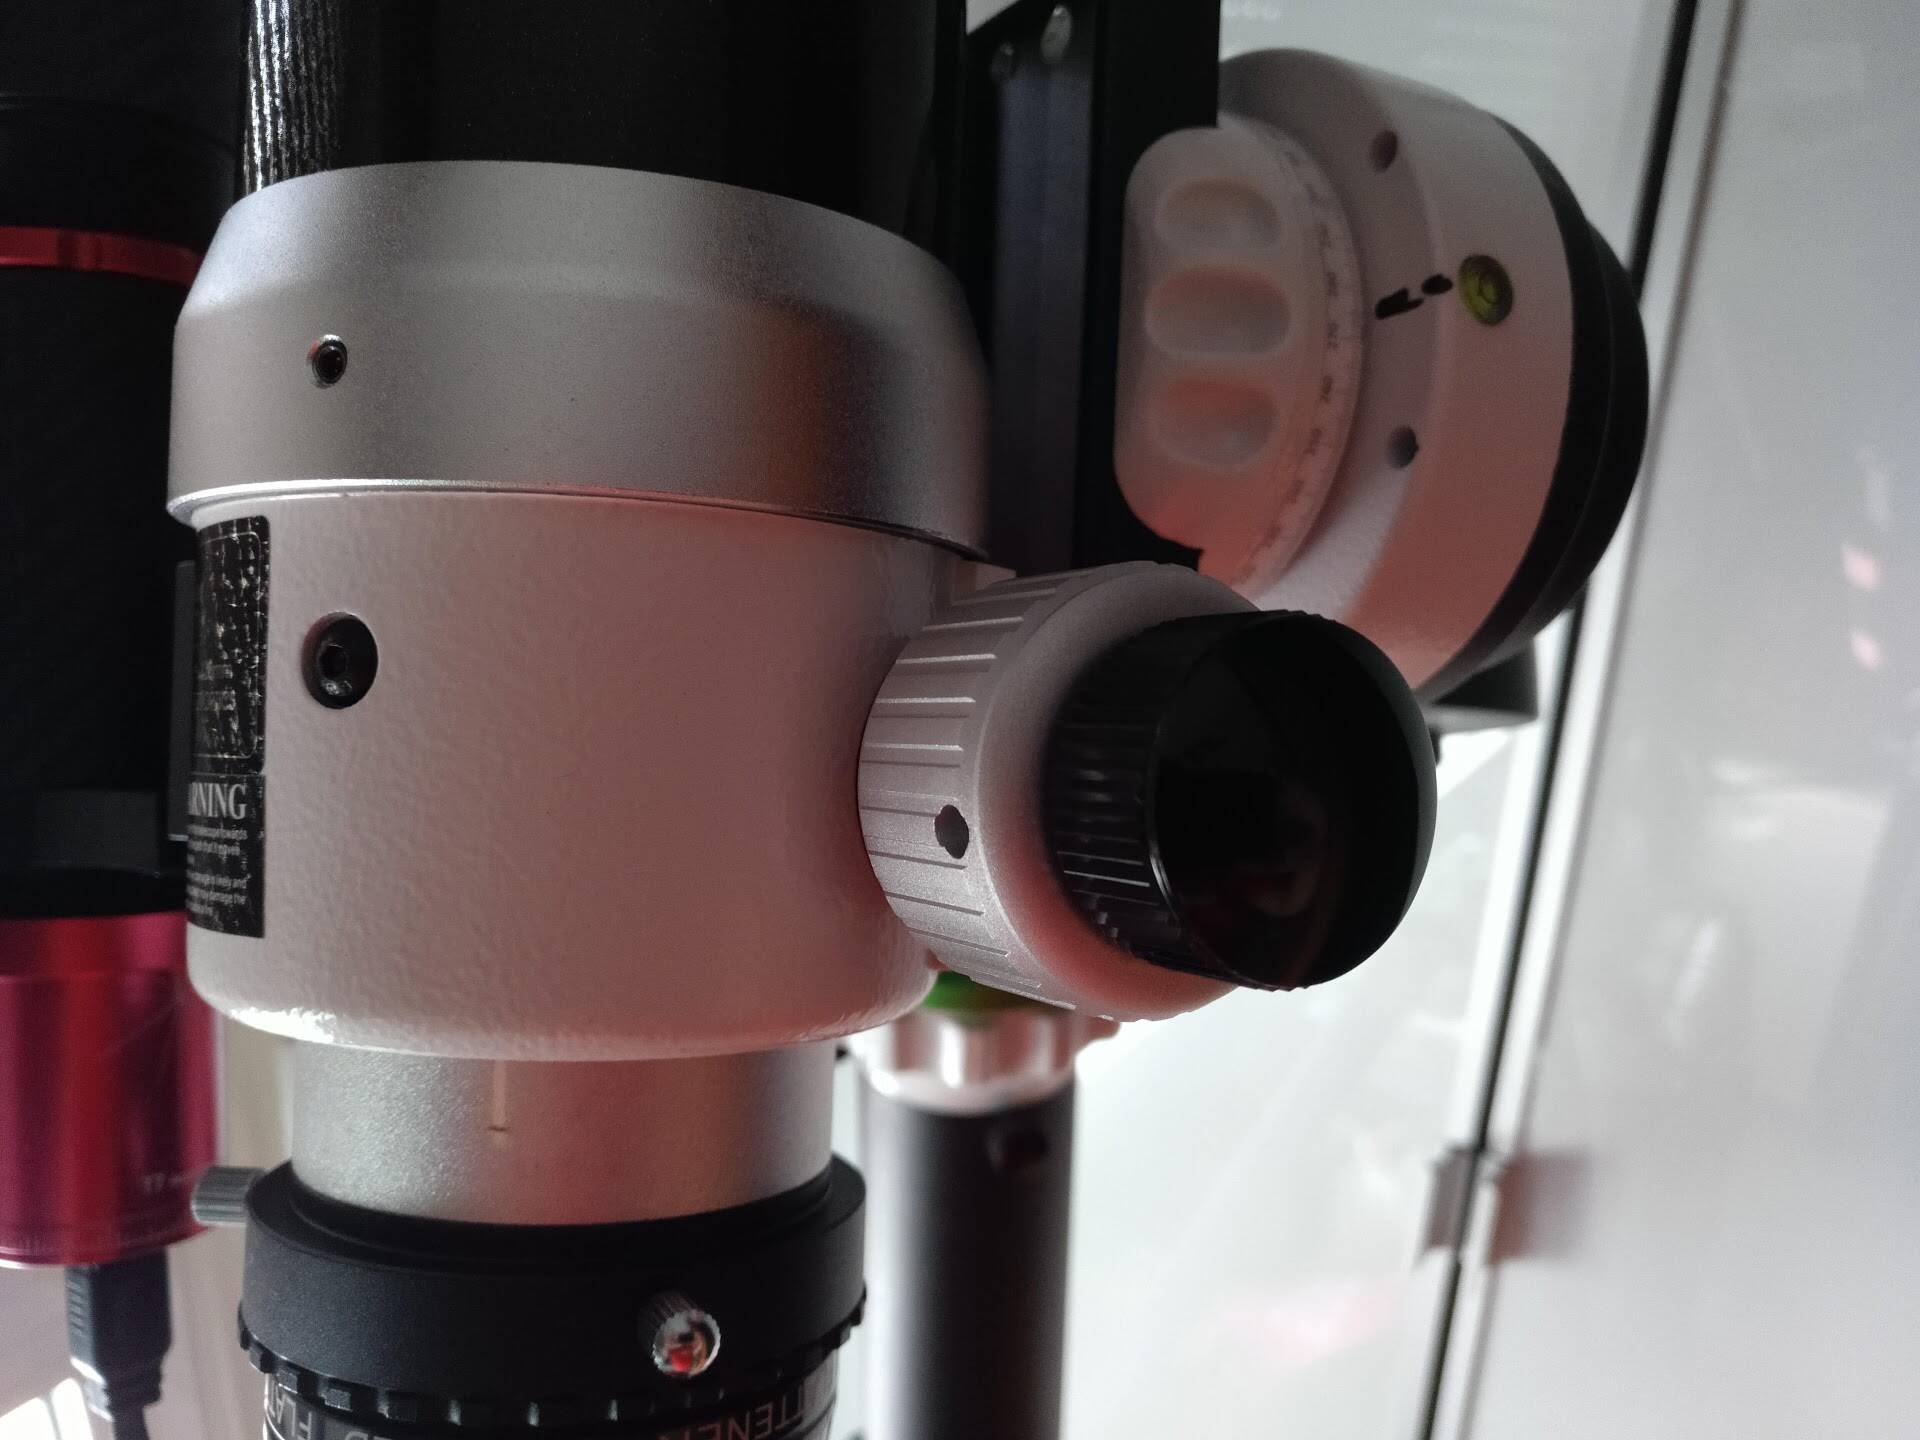
However, the focus on astrophotography must be done to infinity, and at night, you need to focus the stars so that they look as punctual as possible. It is a complicated process sometimes and not always gives the best results.
There is a tool that really helps to get focus and achieve the best possible approach with the telescope. This accessory is called Bahtinov mask.
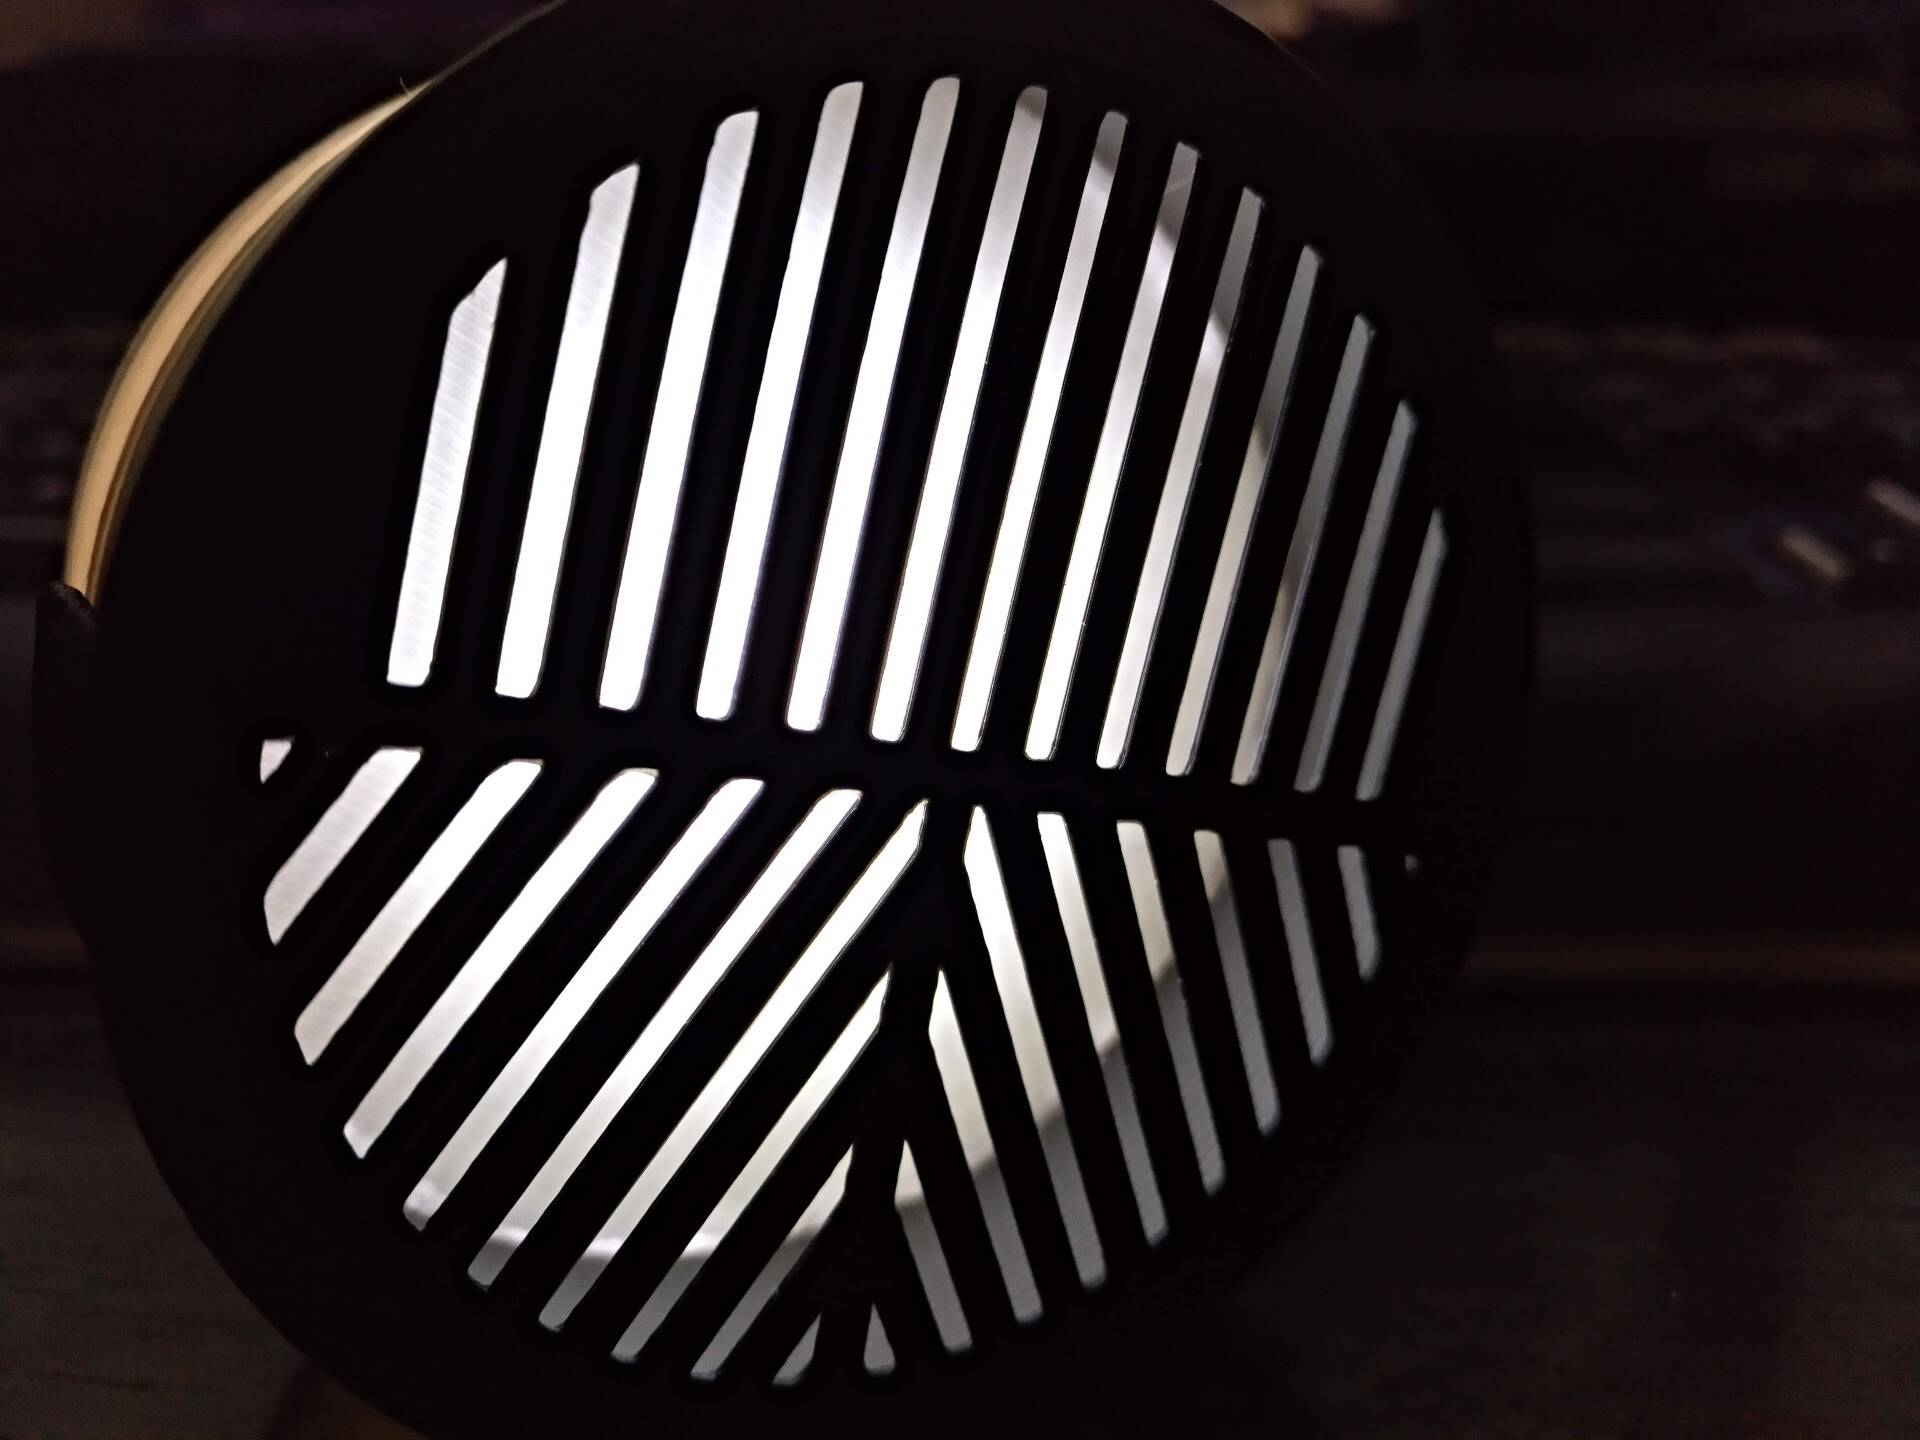
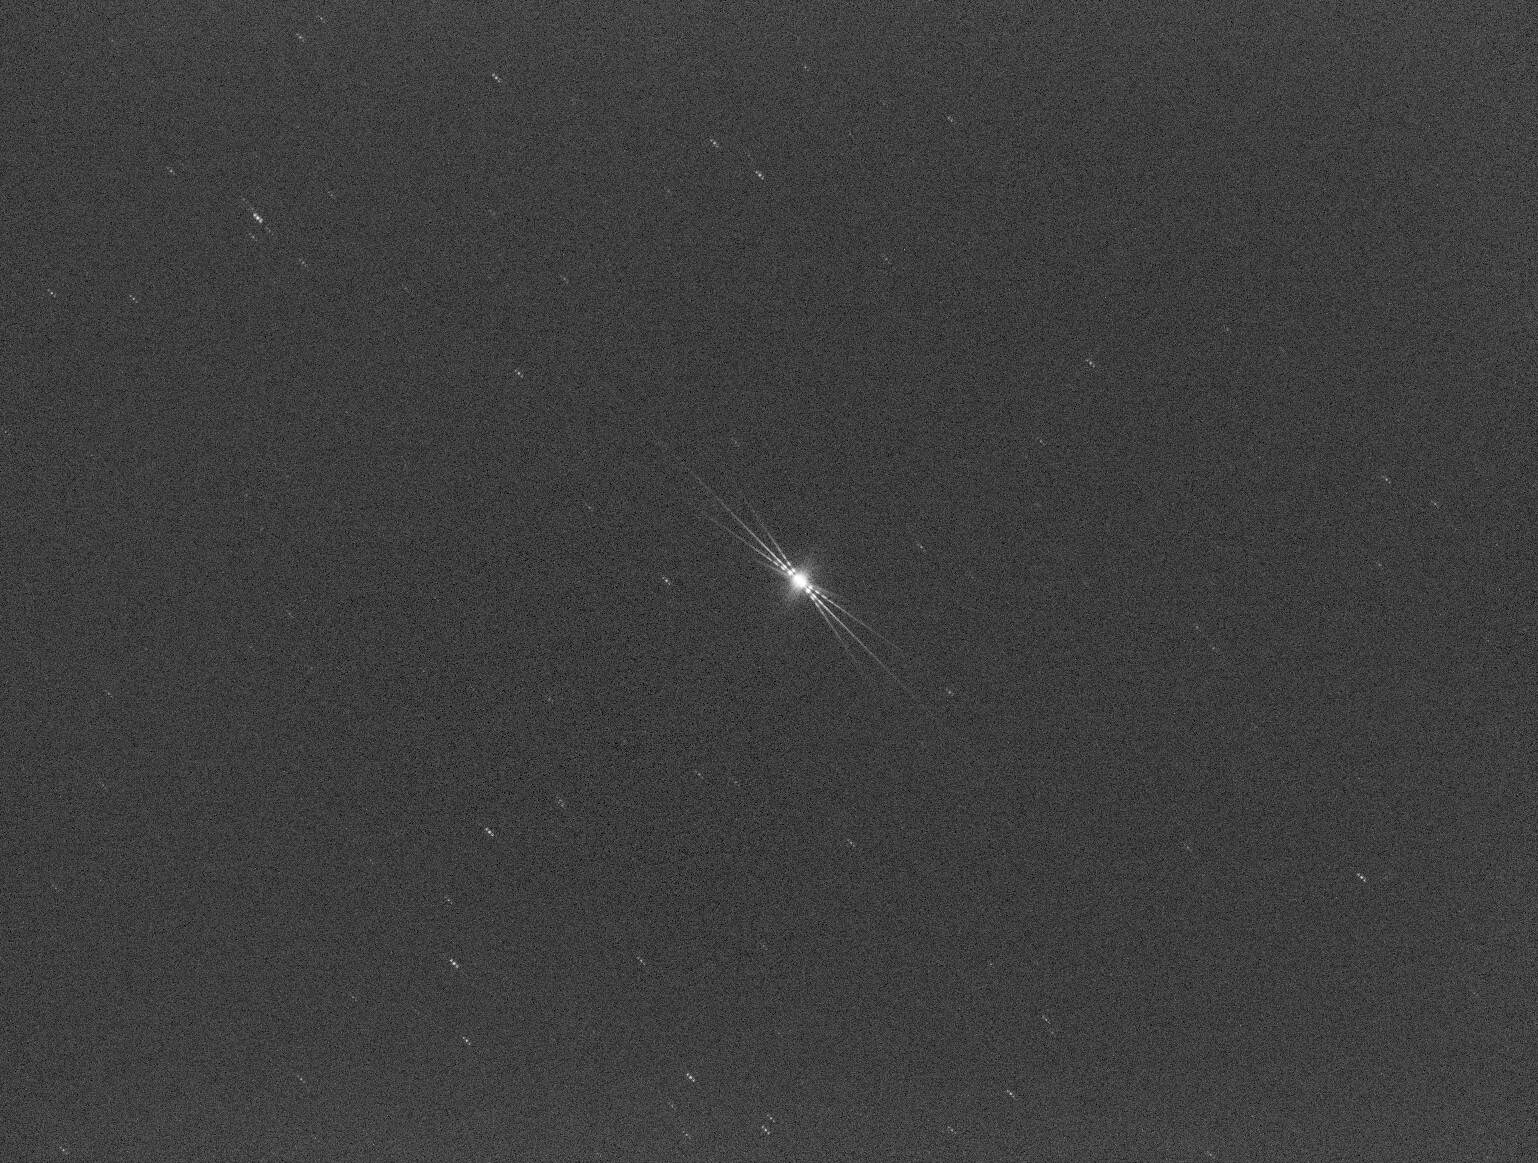
The principle of operation of the Bahtinov mask is based on the principle of diffraction of light, which, when passing through the mask grid, generates a pattern in the stars with three lines. By aligning that lines so that they intersect at a single point, the telescope is fully focused.
We can see the characteristic pattern of the Bahtinov mask in the following image of the star Deneb taken by Victor R. Ruiz.
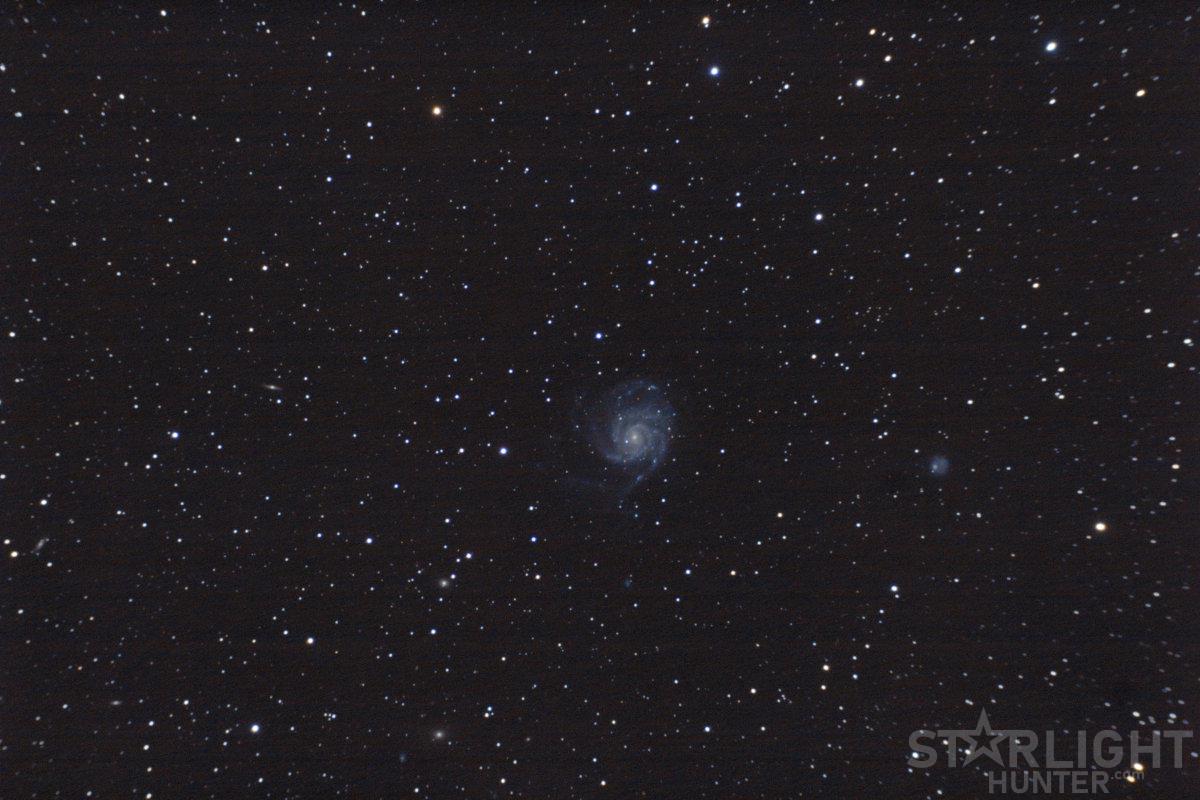
Once the telescope was focused, I took a few shots of M101, the Pinwheel Galaxy.
Optical quality
Telescopes are not camera lenses, and are usually prepared for using them with eyepieces. Therefore, it does not matter that the image does not focus on a flat surface like a camera's sensor, and many of them focus on curved surfaces.
The fact that the focusing surface is not flat implies that the image will have a characteristic blur at the edges, especially in large camera sensors such as those in a reflex camera.
In the next Pinwheel Galaxy photo you can notice this deformation on the stars at the edges of the image that resembled the effect of the Star Wars light speed travelling.
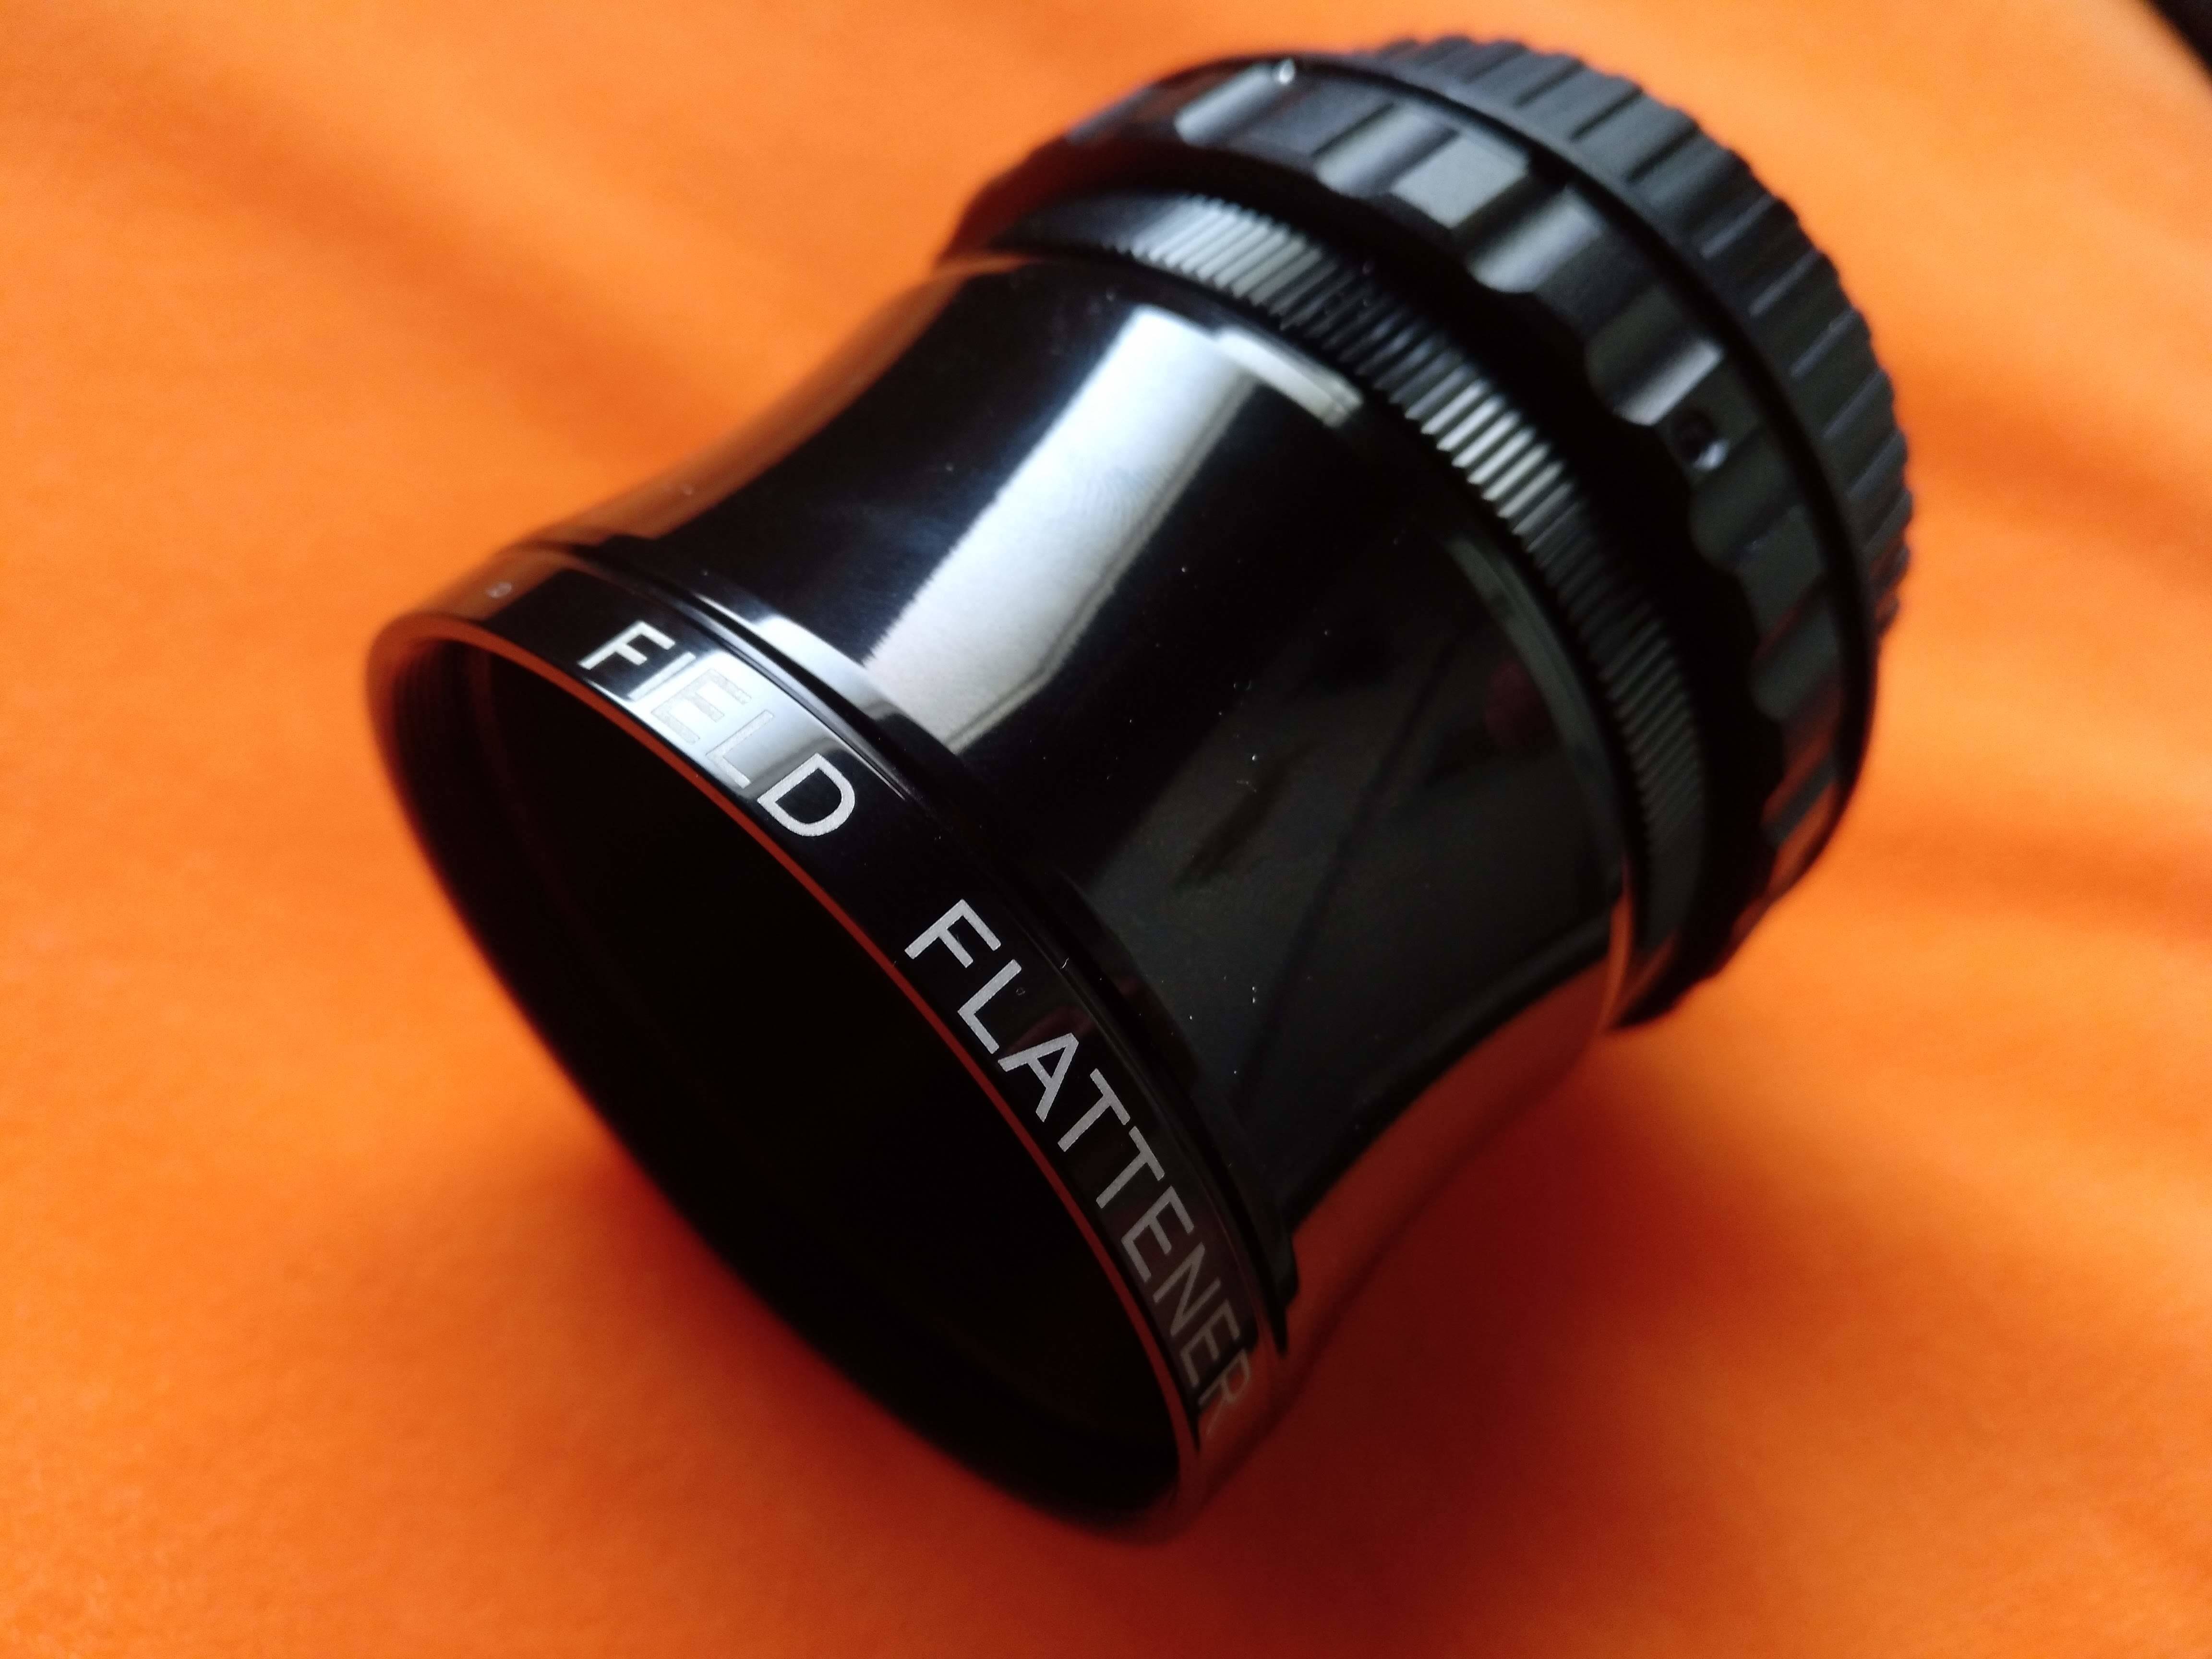
To correct that it is necessary to use a special lens in front of the camera called field flattener. What this lens does is deform the projected image to correct the surface on which the image is focused and make it flat again.
They are usually quite expensive accessories that can even cost almost like the telescope itself, although in my case I found a cheaper brand: OVL and in the end the price of the entire optical train was less than 400€.
Another important issue is that even being an APO or approchromatic telescope, it has a slight chromatic aberration that generates almost imperceptible blue halos in the stars, but overall, it behaves much more than satisfactorily.
Collimation problem
In my case it was a punctual problem, but my 72ED came with a factory defect and the focuser block was slightly deviated from the rest of the optical train.
This caused the photos to have comma problems in two or three of the corners depending on the angle of rotation of the camera.
Fortunately, and after getting a Cheshire collimation eyepiece, I was able to readjust it with the three screws that hold it to the main tube.
After the adjustment the telescope was completely aligned and the coma has disappeared, but I spent several months testing to diagnose the problem until I found the solution.
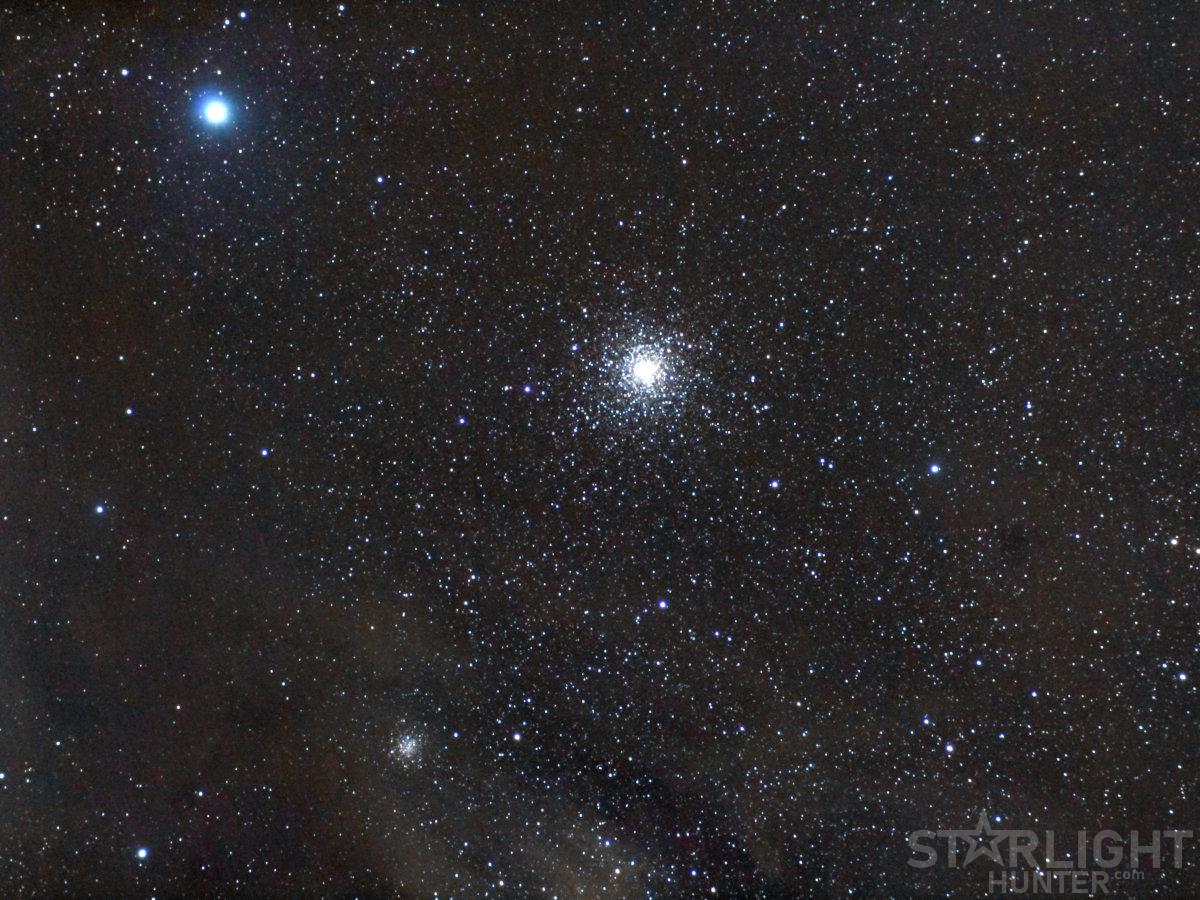
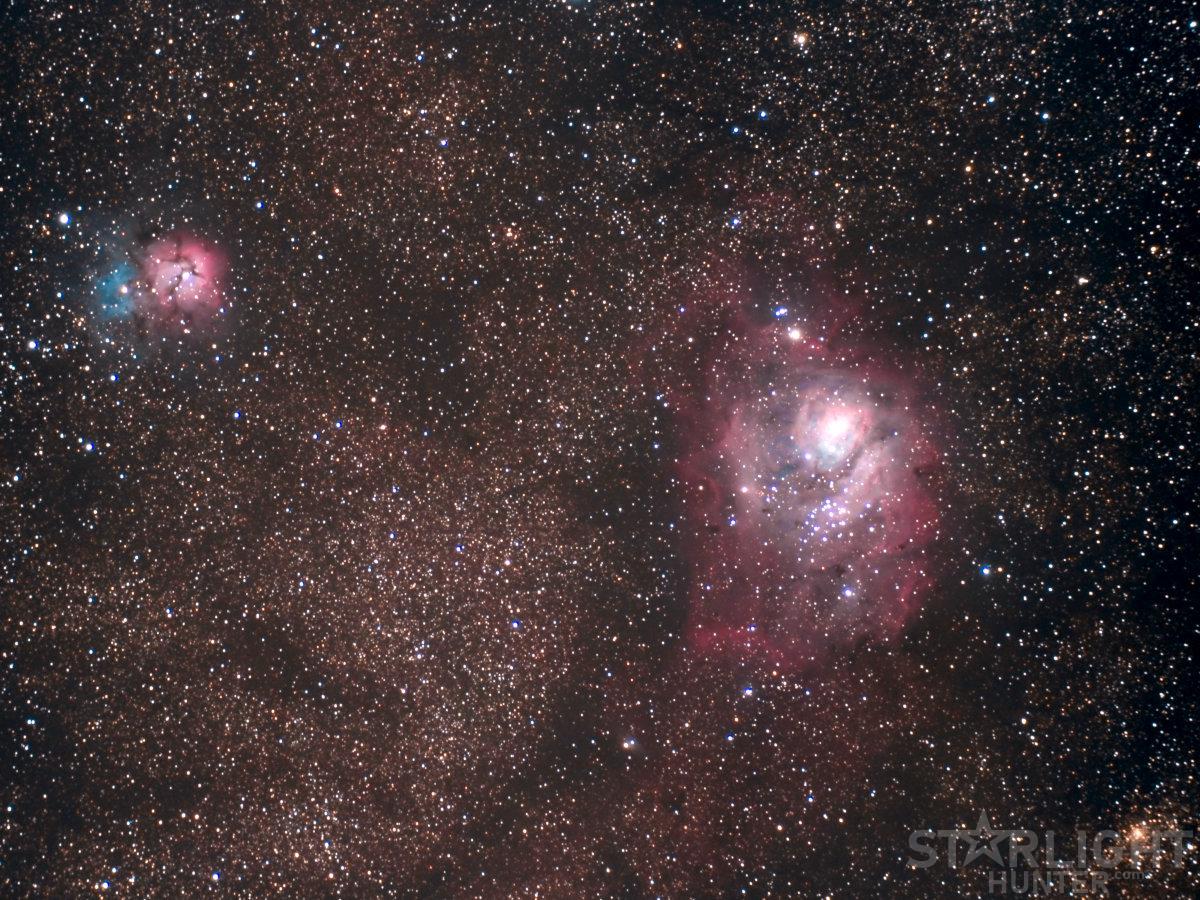
Photos taken with the 72ED
Below you can see some of the photos I have taken with this telescope.
Conclusions
The 72ED is a telescope with a focal length that makes it necessary to use a mount with tracking. Due to it's small weigh and size it is ideal for use in compact mounts such as AZ-GTi or Star Adventurer.
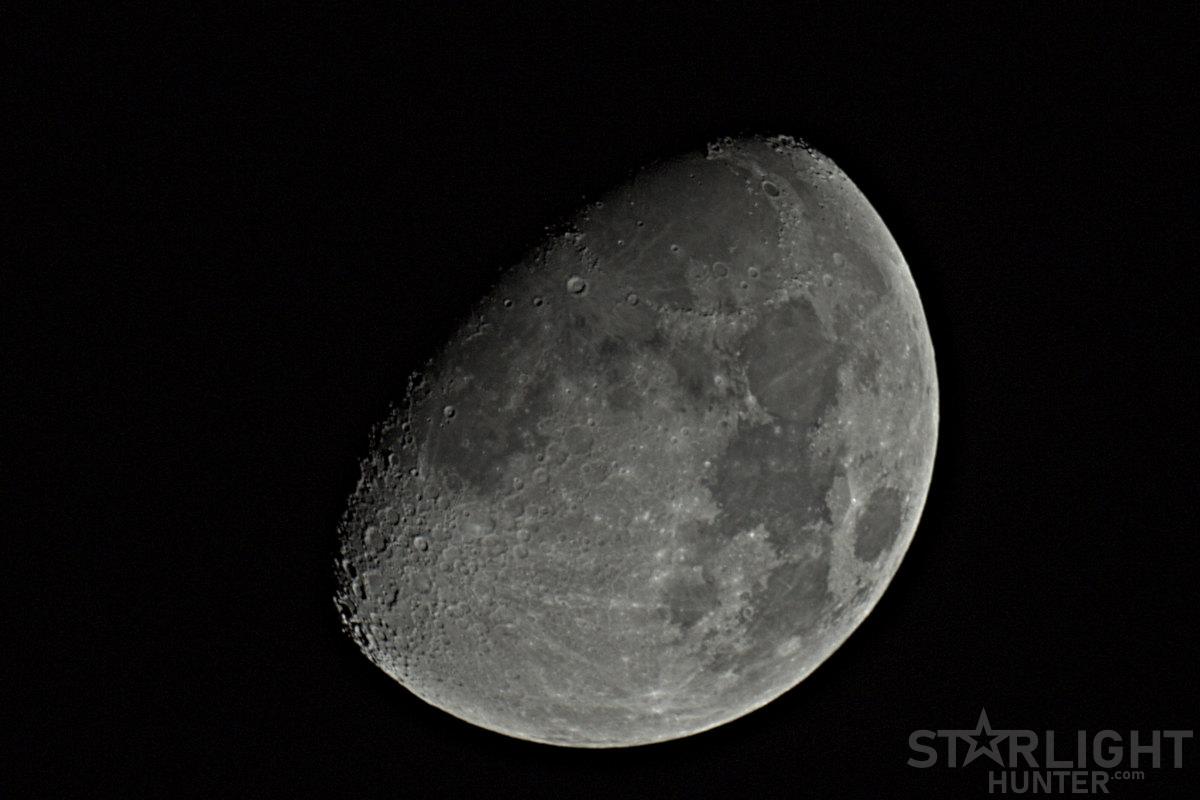
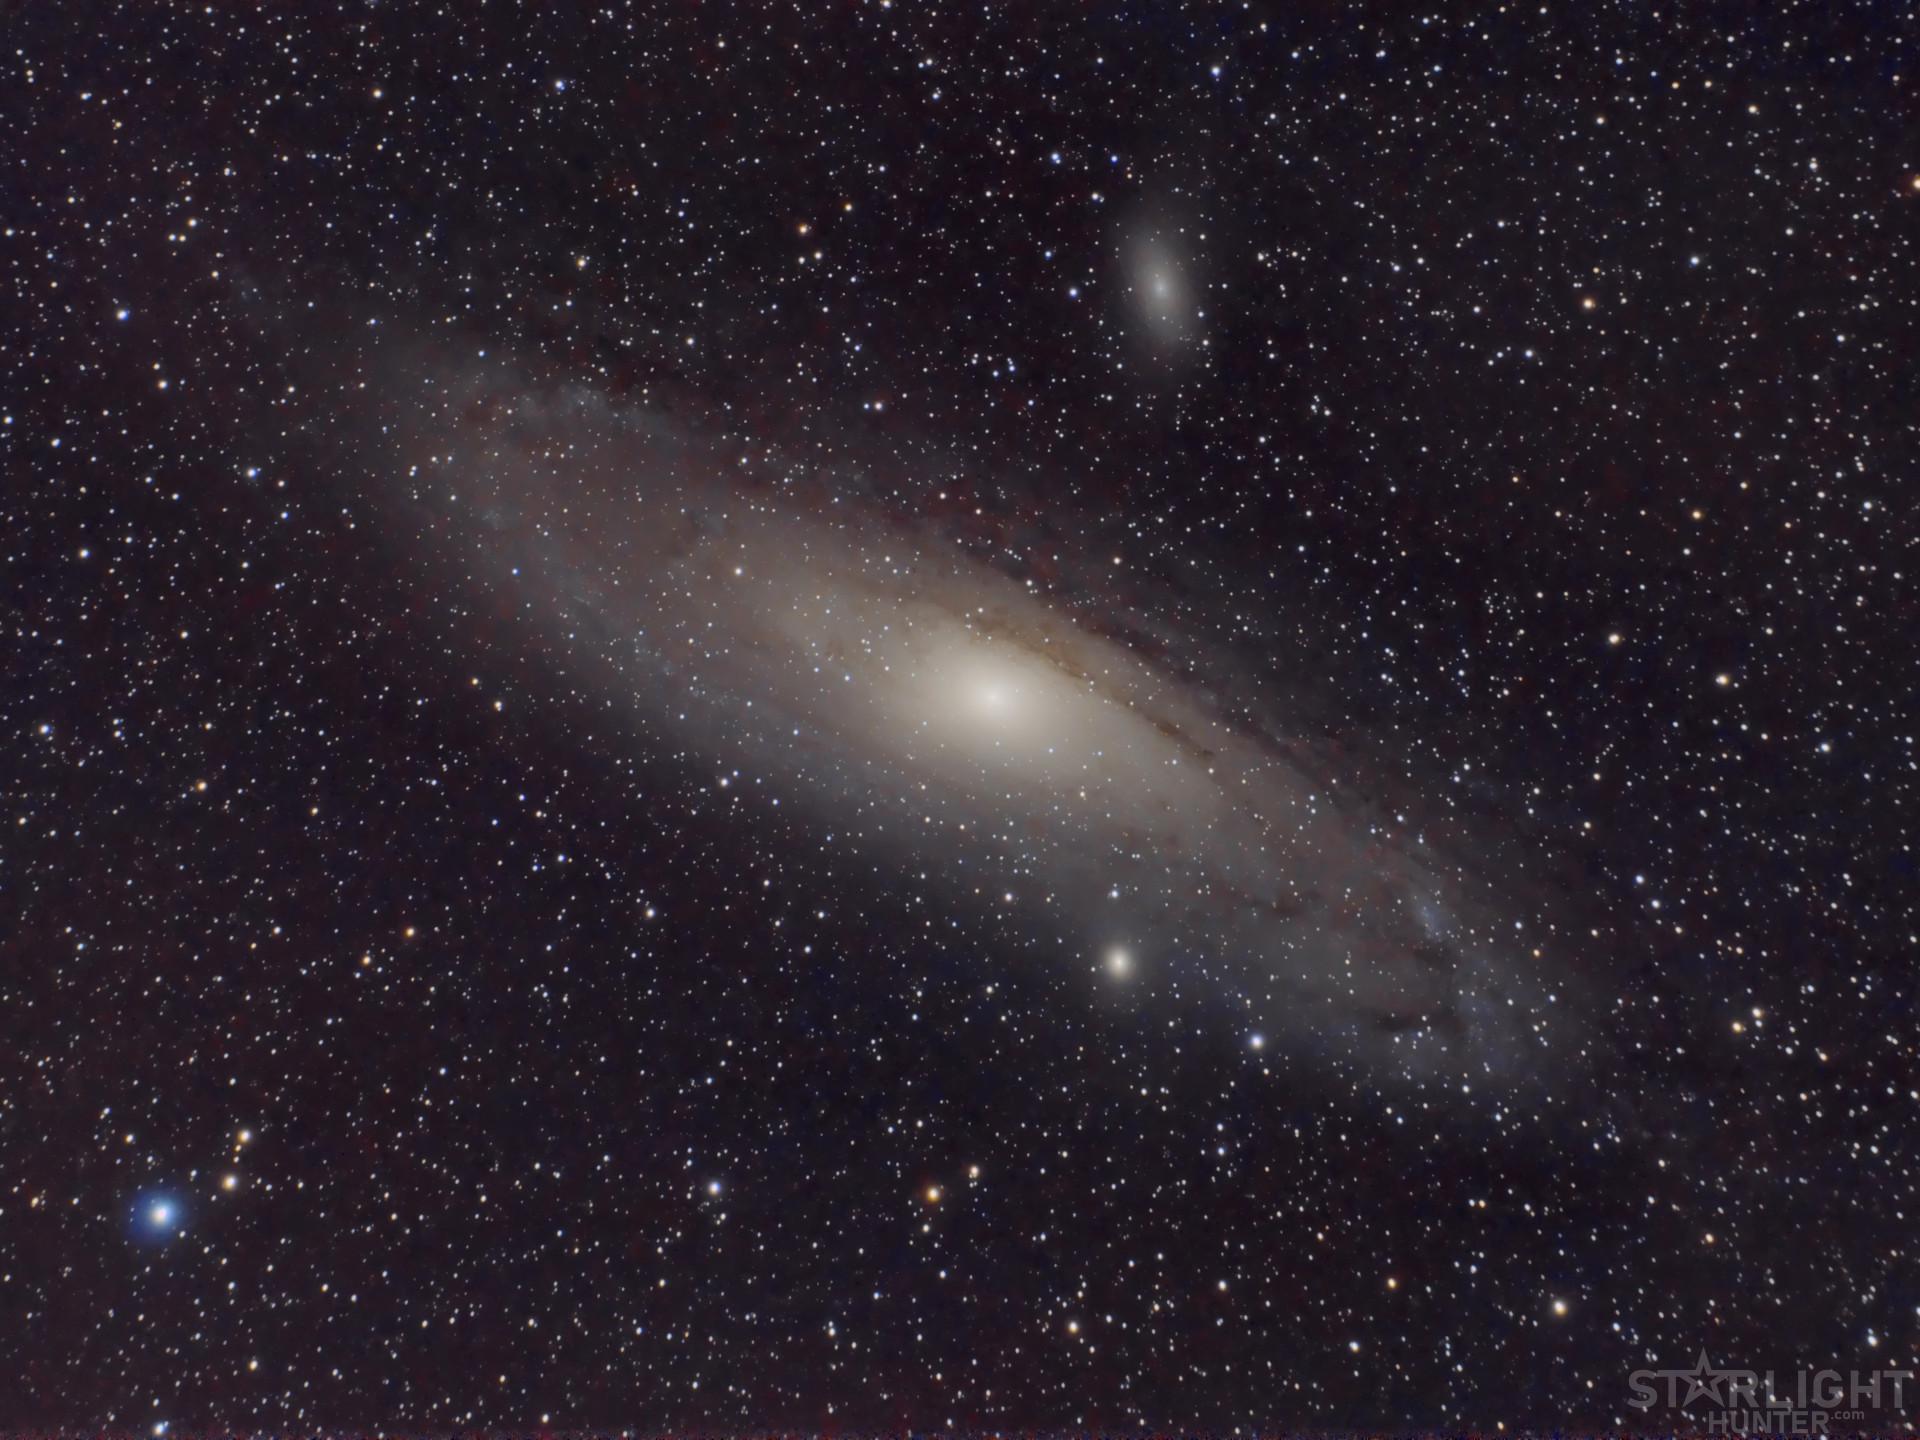
On the other hand, its focal length is ideal for working with cameras with APS-C or Full Frame sensors. You get very good framing of the great majority of the nebulas and objects of deep sky. For galaxies (except the Andromeda galaxy) more focal length would be needed, but decent images of some of the galaxies in the messier catalog can be obtained.
Its focal ratio is not excessively high. Normally any 300mm telephoto lens of a similar price has the same focal ratio, and its optical quality is usually much lower.
The inclusion of a double speed focuser, as well as the low dispersion optical elements, allow to obtain very sharp images with very few chromatic aberrations.
Given that the telescope has a much cheaper cost than a lens, and that it is a very compact telescope, I am very happy with the results I get with it. I would recommend it for anyone looking for a lightweight and portable device with more than acceptable optical quality.
If you have any questions or have information that you want to share, contact me through my twitter account.