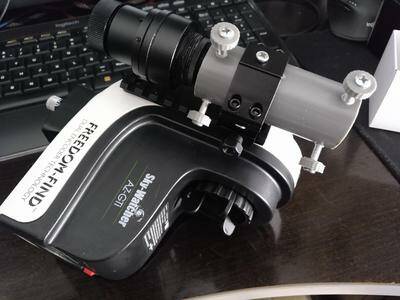
AZ-GTi mount in equatorial mode
NOTE: This article has been published in issue 71 of Amateur Astrophotography Magazine
A year and a few months has passed since I started on astrophotography and I had to learn a lot of things to get here. Some by good means, and many by the bad ones.
One of the things I had to learn was to choose and learn to control an equatorial mount to track the sky when taking my photos.
Now in November 2019 it has been year since I acquired my AZ-GTi mount, and to “celebrate” it, I wanted to write an article to explain my experience with it and everything that I have been testing and learning in this last year of using it.
Why the AZ-GTi?
By that time, when I considered getting a mount to track and increase the exposure time of my photos, I was studying different options of compact mounts for astrophotography.
Among the options available, some people recommended me to take a look at the AZ-GTi. A very compact and lightweight altazimuthal mount, with GOTO system, but, with a firmware upgrade, it could be used as an equatorial mount.
Given that the other option was to get the Star Adventurer, and given my little knowledge about astronomy and locating objects in the sky, I decided that AZ-GTi could be the best option in my case.
Another thing that I really liked was that it could be used with batteries, and the connections are made through Wi-Fi. This would allow me to not have to carry with heavy batteries or have to deal with so many cables, and this allowed me to achieve one of the most compact and lightweight mount and telescope configurations on the market.
So finally, I decided to buy it, and in November 2018 I received the package with my brand new AZ-GTi, with its extension column and tripod.
Initial assembly and software connection
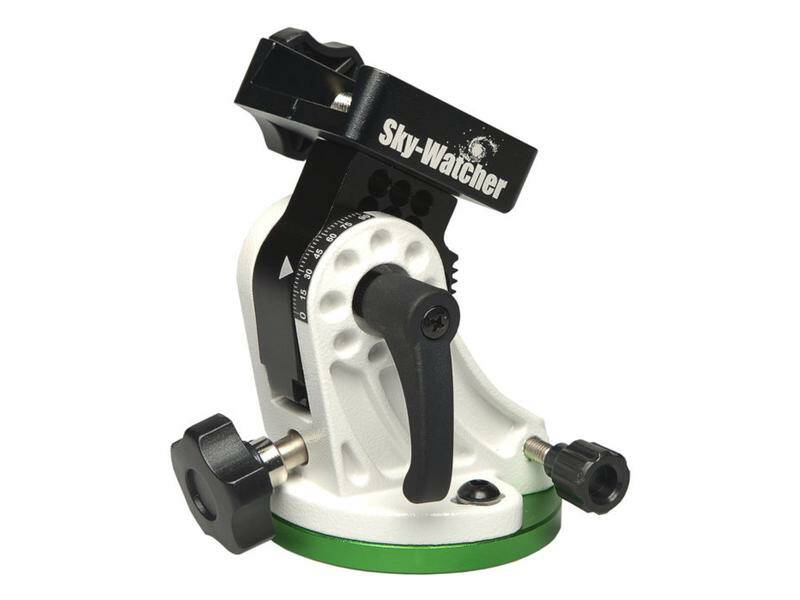
As soon as I received it, I started with the assembly. The first problem I had to solve is that I needed to be able to place the mount in equatorial mode to do astrophotography, so I would need an equatorial wedge for it.
However, I preordered the equatorial wedge for the Star Adventurer because I knew I would eventually need it.
Next step was to download and install all the software needed to control the mount and update the firmware to the version that allows it to be used in equatorial mode.
To do this I went to the SkyWatcher website and downloaded their SynScan software and the utility to update the mount firmware as well as the firmware itself. I leave here the links for easy access to the latest versions:
After downloading all the software, I put the batteries into the mount and connected the computer to the Wi-Fi network that is activated when it is turned on. In SynScan App I pressed the connect button, and I was ready to control the mount from the software.
Then, I ran the mount firmware update utility and followed the instructions to update it to the version that allowed the equatorial mode.
After a few minutes, I reconnected to the mount from the SynScan software and I noticed that this time the software shown a dialog asking the mode I wanted to operate the mount.
Polar alignment
The next issue I had figure out was how to solve the polar alignment process of the mount to get the most accurate and easiest alignment possible.
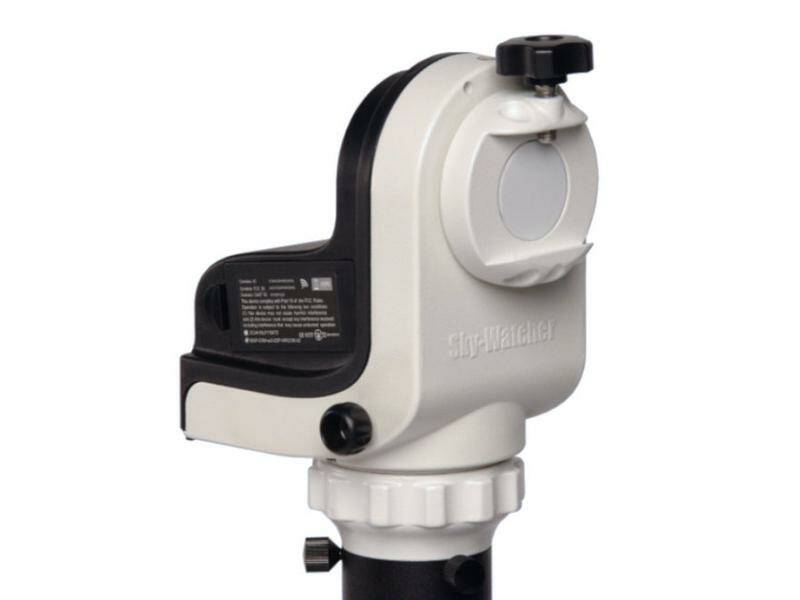
The physical design of the AZ-GTi is not intended to align it like a regular equatorial mount. Most equatorial mounts have a polar finder in the center of the rect ascension axis.
However, the AZ-GTi does not have this finder, neither the hole to place it in the center of the axis, so i would neet to figure out to find a polar alignment method for this mount.
After discussing about the topic and having read dozens of posts in the forums, I identified four possible approaches for polar alignment:
- Alignment using a laser
- Drift alignment
- Alignment with software
- Alignment with polar finder
Software and drift methods
From the start I discarded the software and drift alignment methods. Although they tend to be much more accurate than other methods, they also require additional hardware or tedious iterative processes that can be cumbersome and slow, so I left them as a last resort option.
Laser method
The laser method was one of the first I used. The idea was to use a laser that could be visible at night and place it on the mount, parallel to the rect ascension axis. So the mount would be aligned just pointing the laser to Polaris.
It is a very fast and very easy polar alignment system. However, the problems with this approach are that it is not very precise, and on the other hand, that to increase its accuracy, the laser must be collimated to the RA axis. This is not easy to do in this case since the laser is only visible at night.
Still, my first attempt was to glue some magnets on the side of the laser and on the mount, so that it was easy to attach and detach the laser, and placing it parallel to the AR axis as better as I could, I finally aligned the mount.
Several tests later, I noticed that I was not able to take exposures of more than 60 seconds with 300mm of focal length. Although 60s was a real achievement for me by that time considering the "simpleness" of this method.
Polar finder
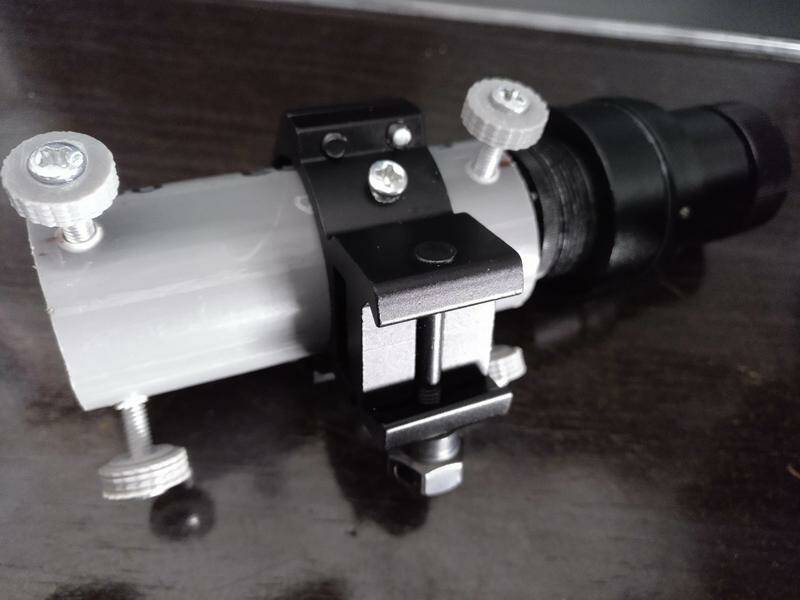
The next attempt was to use a polar finder. In this case, the deal was how to place it so that it was as accurate as possible.
The first test I made was to put the finder on some rings and place it on the clamp of the declination axis like a telescope, pointing parallel to RA axis.
This approach was not very reliable since it depended on how well aligned the polar finder was and the declination axis to be perfectly parallel to AR axis.
After several tests I found that the alignment was very inaccurate and I would have to look for a better method.
The second option I tried, was to first align the wedge using the polar finder with an adapter so when the wedge is aligned, it would only be necessary to put the mount in the already aligned wedge.
It allowed a better alignment than the previous option, but it was still not as reliable as it could be because by placing the mount you could move the wedge by mistake, and even the weight of the mount itself slightly modified the altitude of the equatorial wedge when I placed it.
I thought the third time would be the charm, so I decided to attach the polar finder to the side of the mount.
What I did was to glue a picatinny rail (usually used in airsoft guns for telescopic sights) to the side of the AZ-GTi.
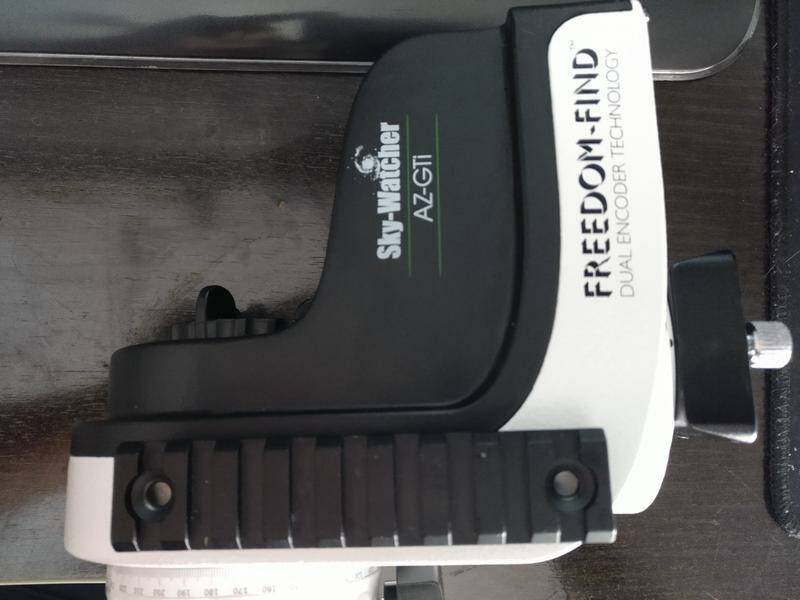
This rail allows to quickly and easily attach and detach accessories, so all I did was to add a mounting ring to the finder and attach it on the rail to the side.
This method was pretty good, but it was still not very accurate. In photos of more than 120s there was a small field rotation.
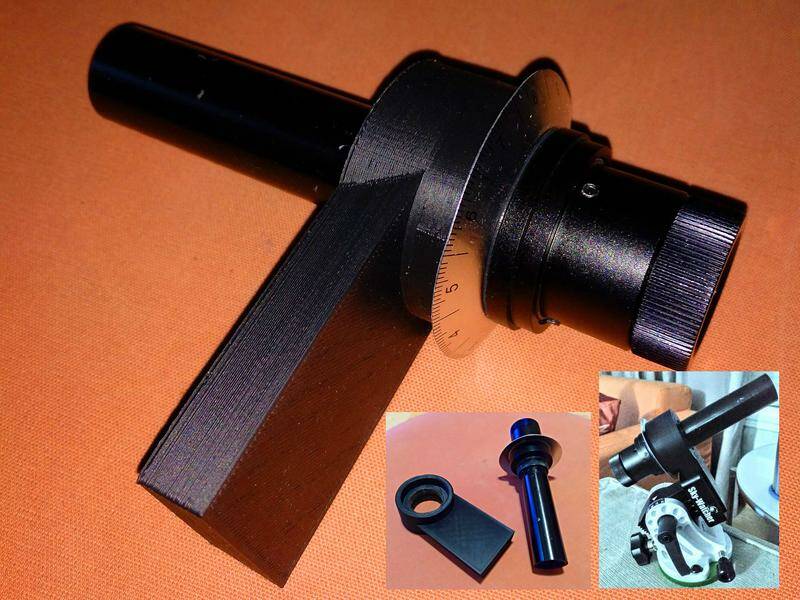
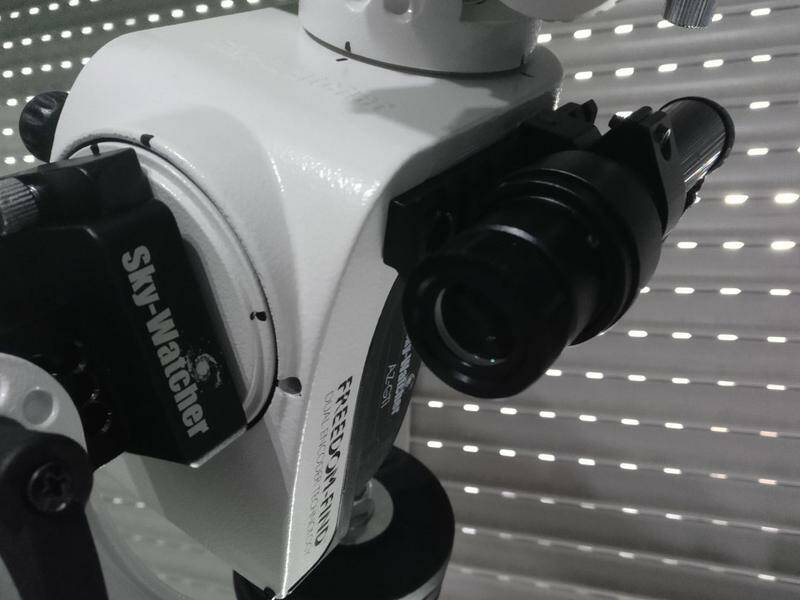
So I tried the fourth option, which is the one I am currently using and which gave me the best results. Place the polar finder inside a tube to collimate it with the RA axis.
I found a PVC tube with an internal diameter slightly wider than the outer diameter of the polar finder and I added 3 collimation screws to each end of the tube. Also added a picattiny mounting ring in the middle to hook it to the rail. I explain how I did this in my article Polar finder for AZ-GTi
Once the polar finder was inserted into the tube, I only needed to hook it to the rail.

But this was not enough. Once I had the DIY equipment ready, nothing assured me that the axis of the polar finder was completely parallel to the RA axis, so I needed to collimate it.
First I searched how to collimate a polar finder for a german equatorial mount and followed the method used in other mounts.
Now, once the polar finder is attached and collimated, the AZ-GTI polar alignment process runs just like with any other equatorial mount.
Problems I've found with the mount
The AZ-GTi is a compact mount and very good given it's size, weight and cost, but let's not fool ourselves. It's still a mount that is not specifically designed for astrophotography, nor as an equatorial mount. This causes some problems that I have been alleviating as I could during my astrophotography sessions.
Connection issues
As it is a Wi-Fi mount, we depend on the wireless network of the mount and the laptop to not fail during sessions. To avoid most problems, what I have done is to configure the AZ-GTi to connect to the laptop and not the other way around. Also I setup a fixed network configuration for the mount so I don't have to find out what configuration it gets every time you connect and I can diagnose any problem more easily.
GOTO alignment sometimes did not work well
I have had situations in which when aligning the mount during the GOTO alignment process and after aiming at the first object and moving to the second one, the mount move to impossible positions that causes the telescope to collide with the tripod.
Usually the solution has been to release the clutches again, and align the initial object but on the other side of the zenith axis. 90% times this happened, I solved this way, but sometimes, even doing this, it was not possible to align, so I had to have it aligned using the single star method or I had to look for the object to be photographed manually.
Meridian change
The meridian change has almost the same problem as GOTO. I have not yet found a way to make the change without colliding with the tripod, and since the mount is not designed to be used in equatorial mode, it is very easy to find positions in which the telescope hits the stand.
Final results
Every time I went out for stargazing I did some tests to move forward in this process of finding the best way to use the AZ-GTi, align it and fix problems, but it was worth it.
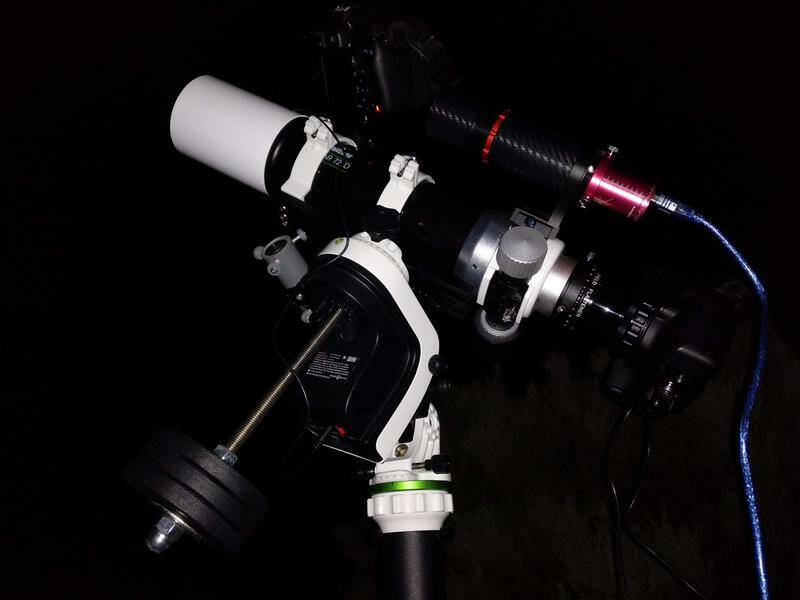
I currently have a very portable, versatile and affordable equipment. I just need my tripod, a briefcase (which contains the AZ-GTi, my ED72, a 1.5kg counterweight and the polar finder) and a backpack with the camera, the laptop and some accessories (now I also carry the guiding camera and the small guiding telescope in addition to other cameras for timelapses).
A very lightweight equipment that is assembled, aligned and ready to shoot in less than 30 minutes.
Comments
I hope those who have in mind to start with this astrophotography will have more information with which to make decisions about AZ-GTi after reading this article.
Any information that you want to share, contribute or ask, contact me through my twitter account. I will be happy to answer any questions.