Guiding in astrophotography - Part 1

NOTE: This article has been published in issue 73 of Amateur Astrophotography Magazine
In astrophotography we are always looking for the best way to obtain images with the greatest possible exposure to capture all the light that comes from the sky.
This "obsession" of increasing exposure time is not just a whim. By increasing the exposure time we are capturing more photons in the sensor of our camera, but also, as a side effect, we are reducing the reading noise of our final images. We will talk about this in future articles.
The first option to increase the exposure time is star tracking. We use motorized mounts that are capable of moving our camera and lens or telescope at the same rate as the night sky.
This allows a drastic improvement in the exposure time that we can use without the getting star trails, but it is still not enough for very dim objects, and although the tracking is very precise, it is never perfect.
The next step in the search for perfect tracking is to use the guiding technique. In this article we will talk about the theory and the necessary equipment components for guiding, and in a second article we will talk about specific low-cost equipment, software and setting up guiding.
How does guiding work?
The guiding is based on using a additional very sensitive camera to take captures every few seconds, and using software, calculate how much a star has moved in the image. Once this displacement is calculated, the software sends a series of pulses to the mount to correct these imperfections in the tracking, and thus obtain as perfect images as possible.
The guiding allows you to drastically increase the exposure time, because as long as the guidance software sends the corresponding corrections and we have polar aligned the mount, we can stay with the shutter open for minutes and the stars will not move in our images.
Guiding types
There are several types of guiding. The most common are the following:
- Guiding with attached guiding scope: A second telescope is attached with the guiding camera to the telescope that we use to take the photos.
- Off-axis guiding: This type of guiding uses the same telescope that we use to make the captures as the optical train for the guiding camera.
Each type of guiding requires different equipment, but in any case there is always a common element: we need a camera.
Guiding camera
The guiding camera does not need a big resolution or a large sensor size. What is important is that the pixel size of the camera is small enough to detect the image displacement as soon as possible.
It is also important that the camera has enough sensitivity, as the more sensitive the camera is, the easier will be to detect stars in the image and less exposure we will need to be able to see them. This is important because if the exposures are very long, a lot of time passes between corrections and the image can move too much.
There are specific cameras for guiding. They are usually smaller and cheaper cameras, without refrigeration. In some cases, the same cameras that are usually used in planetary astrophotography are also used for guiding. In my case, the one I was using when I started with guiding was the T7 Astro.
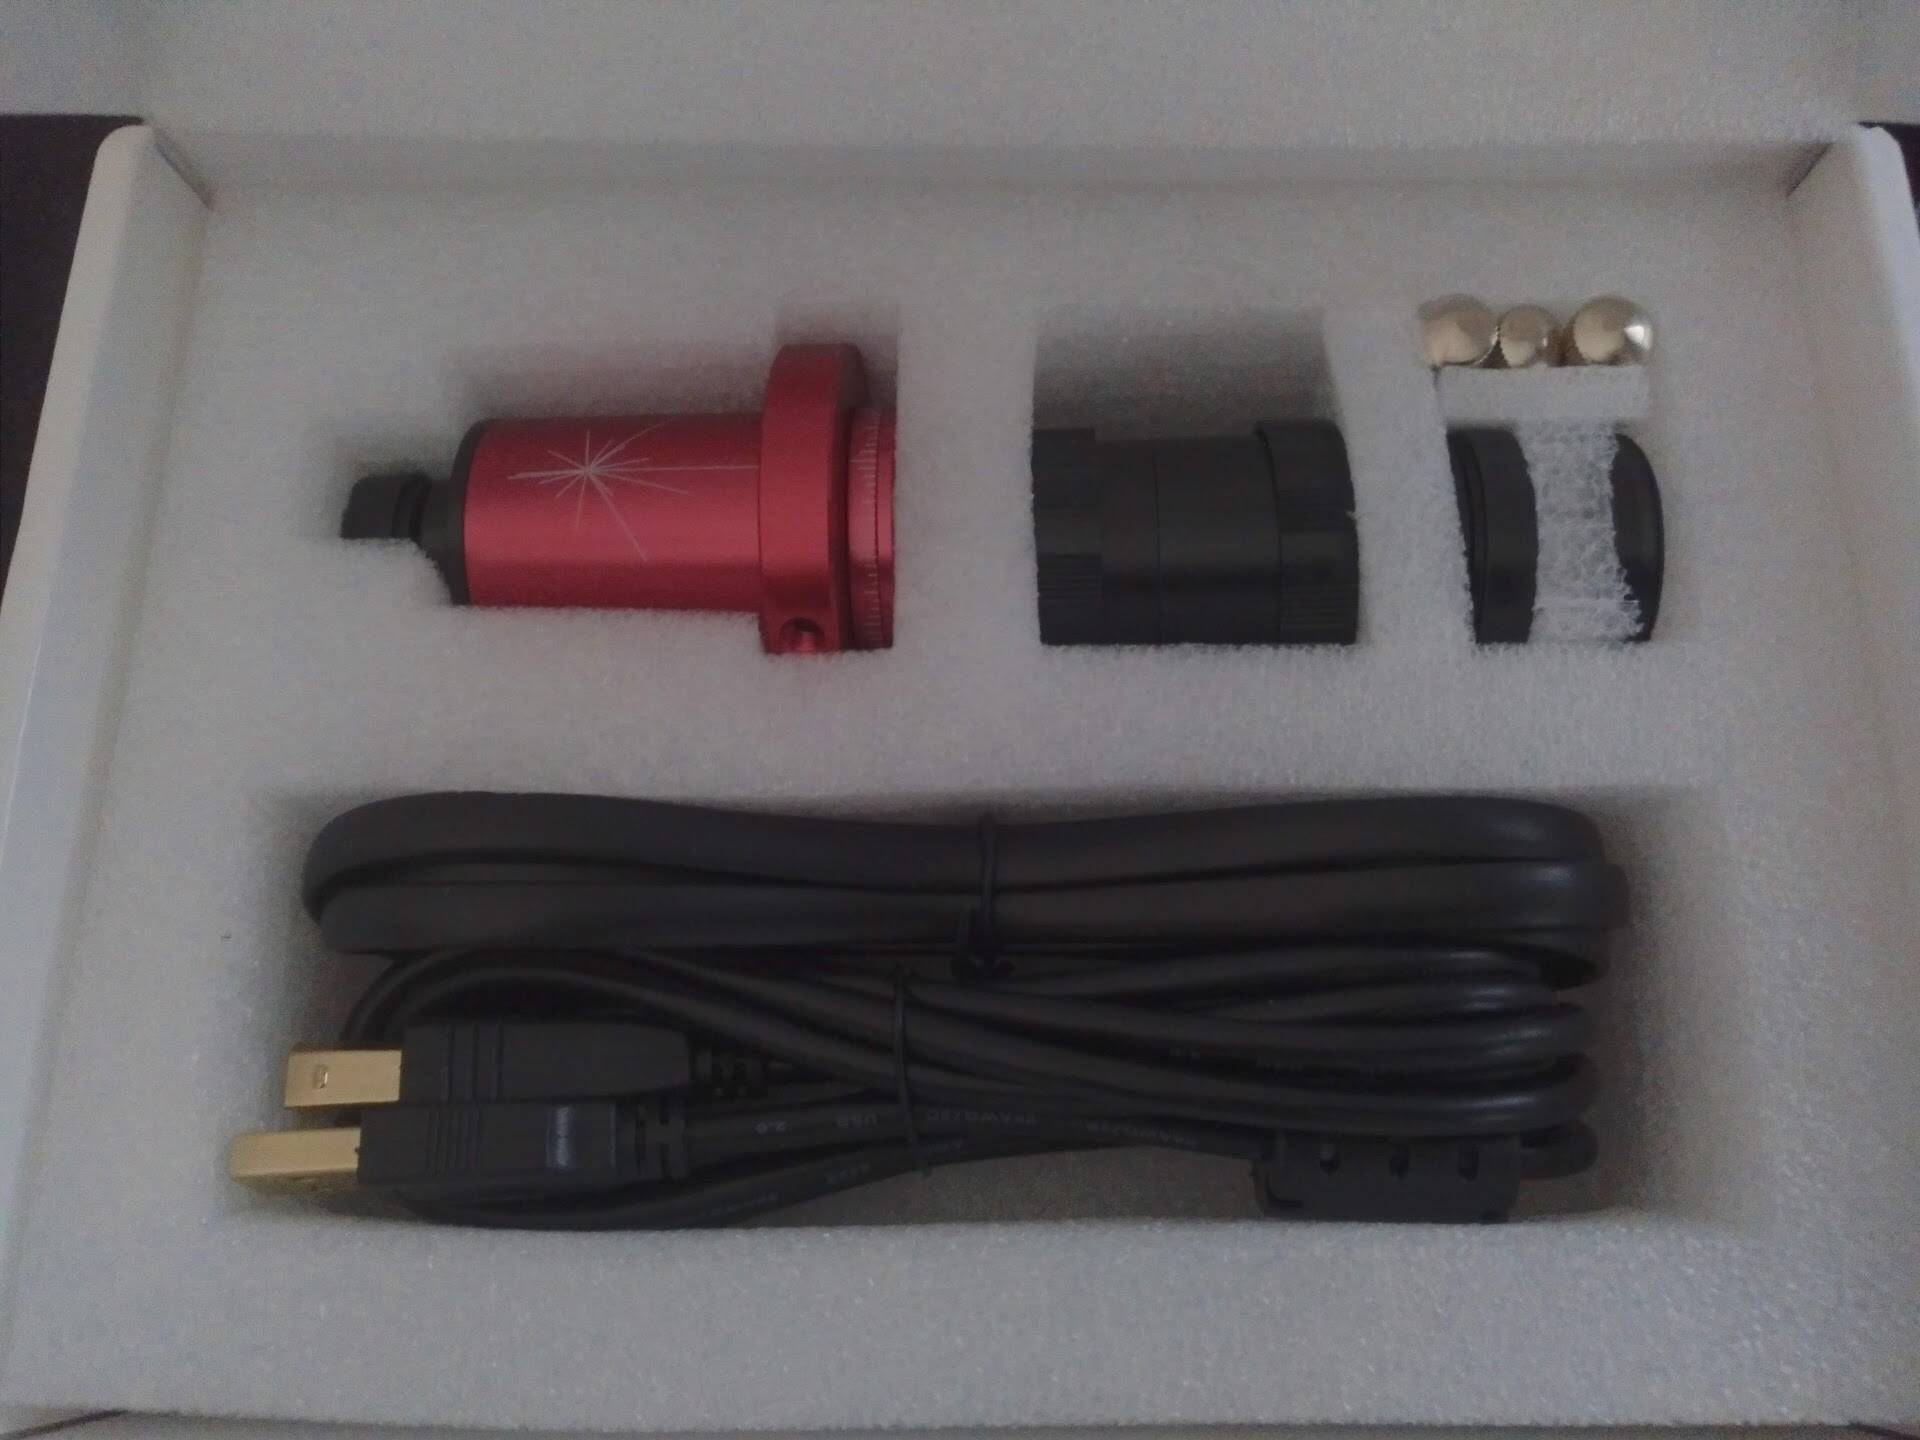
The problem I had is that ASIAIR needs a compatible camera such as ASI120MC-S. An USB3 camera I got recently.
Telescopes for guiding
Guiding scopes do not differ much from telescopes used for imaging.
Usually cheap telescopes are used, since we don't need a great image quality (as long as the stars look as punctual as possible).
Typically achromatic refracting telescopes are chosen, and in some cases where the imaging equipment is quite large, telescopes such as the 72ED can be used for guidance.
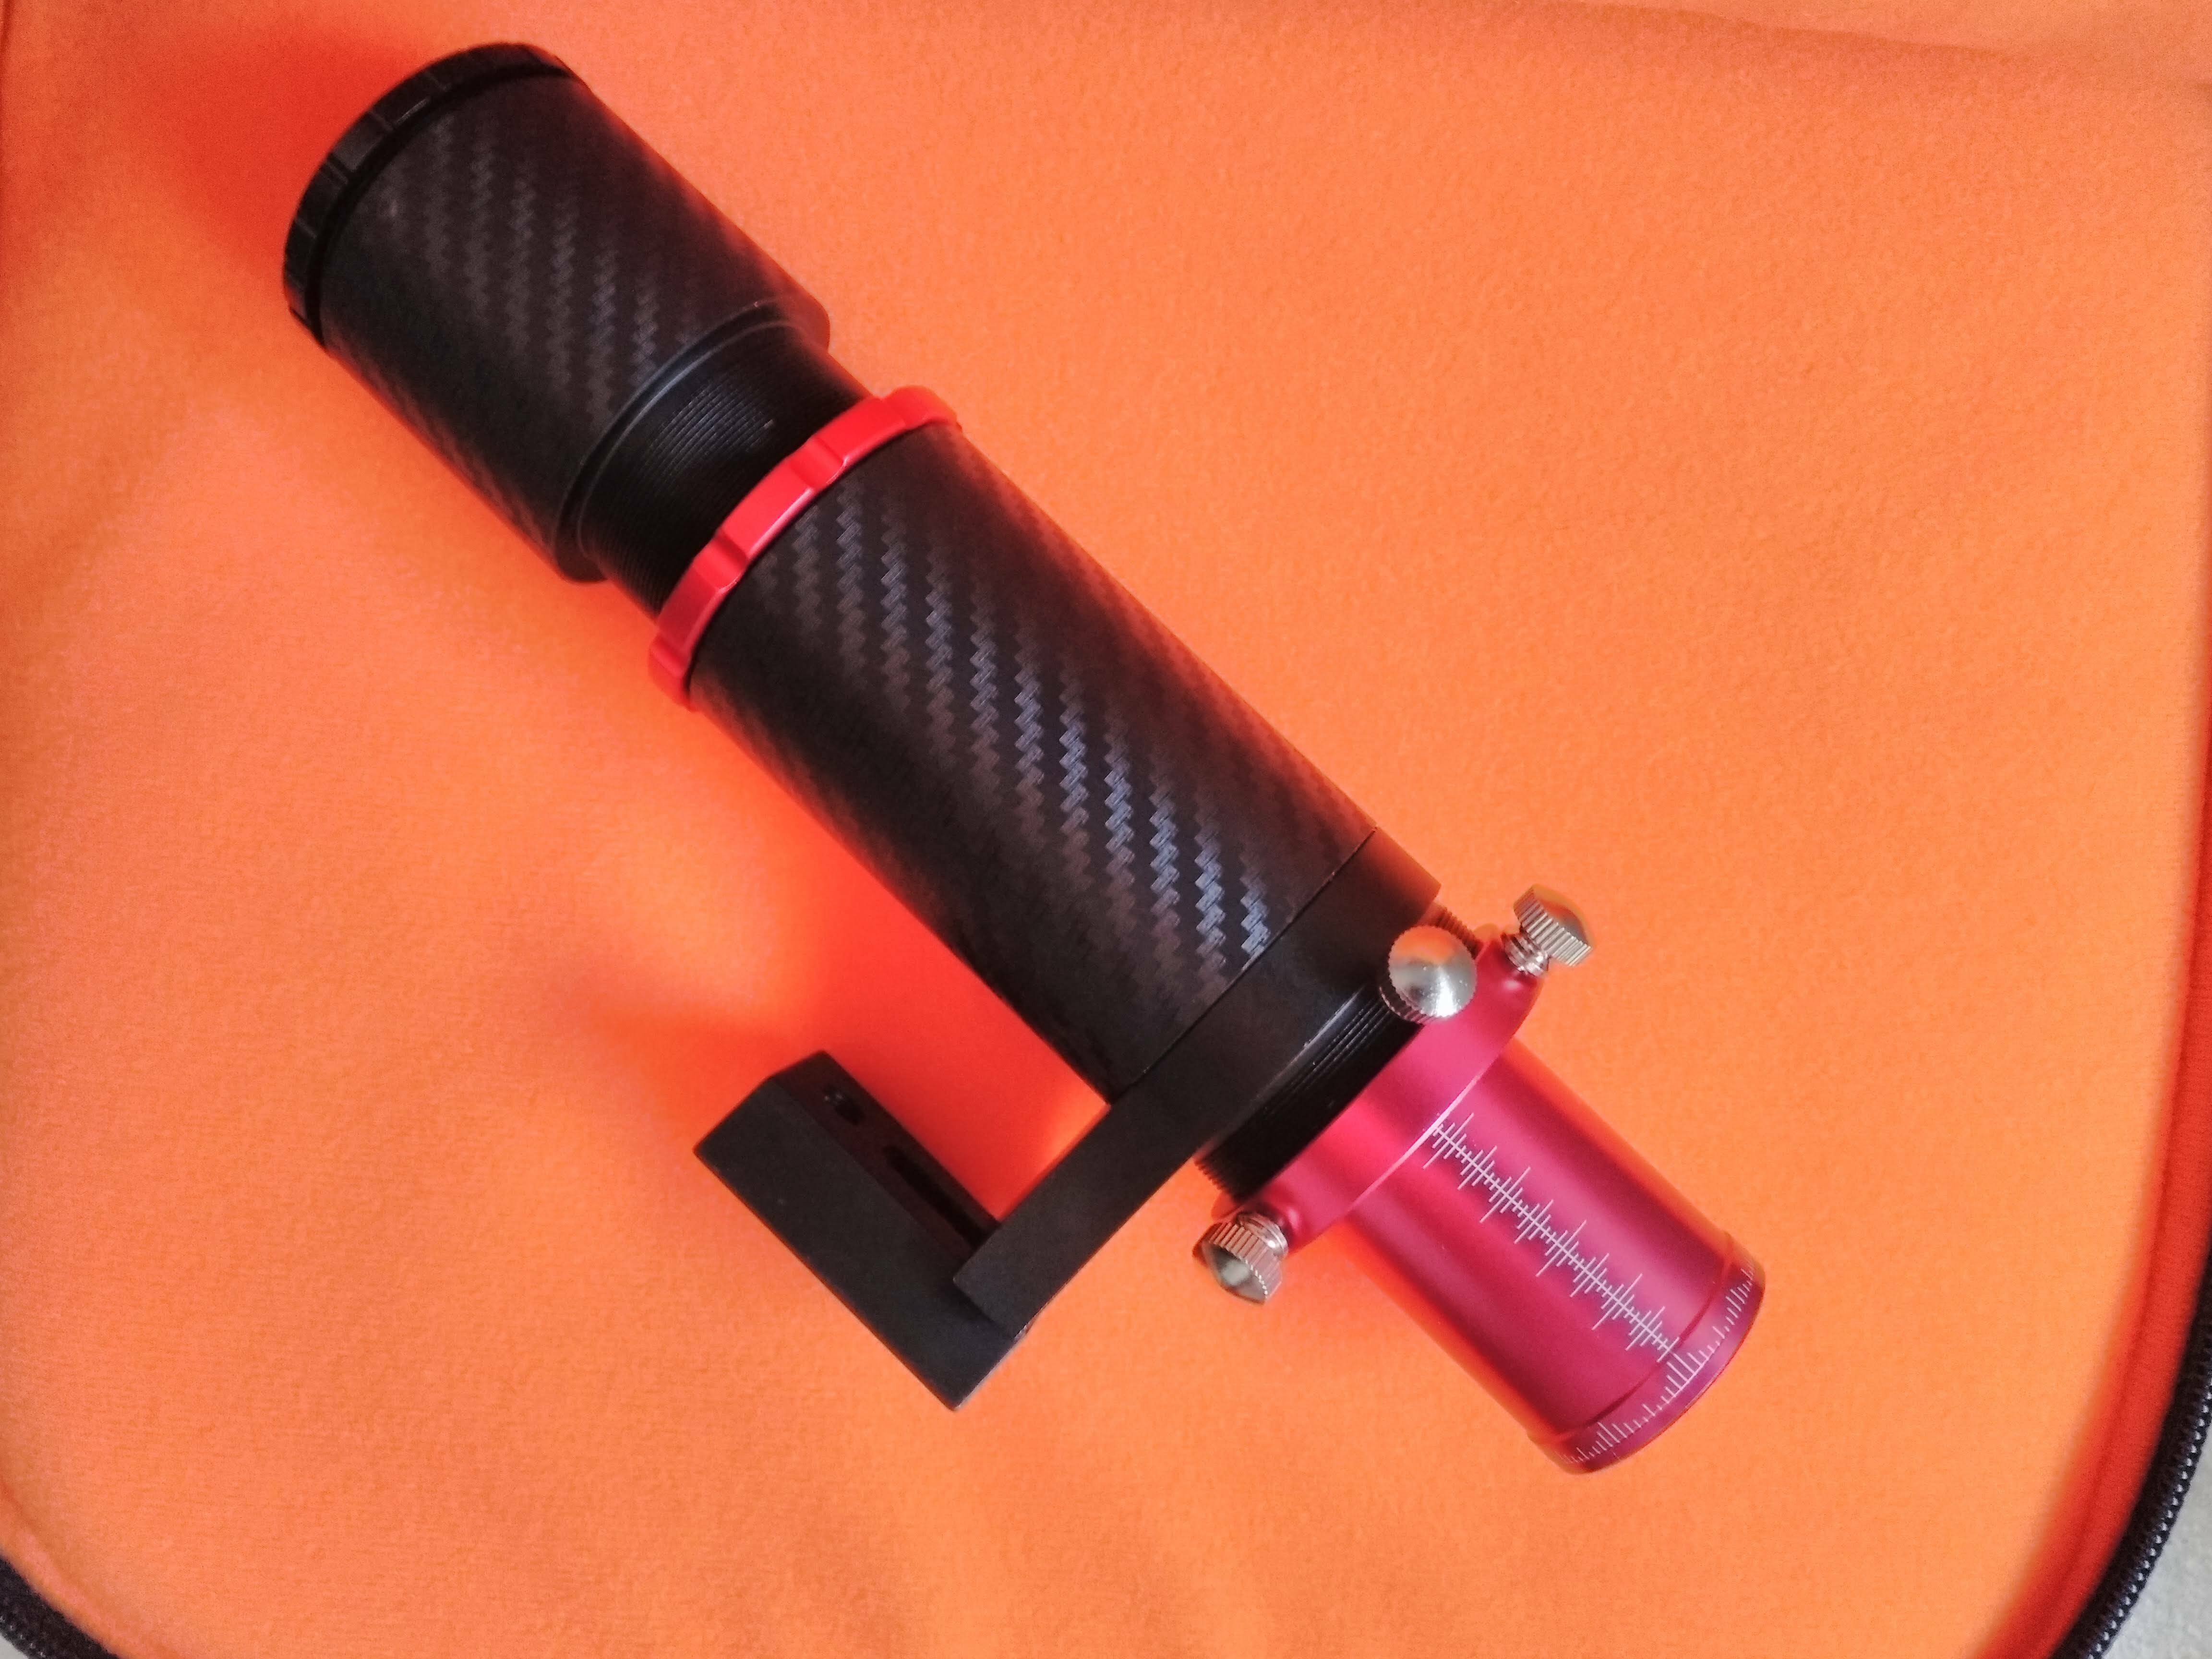
There are also specific telescopes for guiding. They are usually small and with short focal length, but they are more than enough for most situations. The one I use is this 130mm f4 mini guidescope, althought there are cheaper alternatives like this one
Off-axis guiding
For off-axis guiding, a specific accessory is required that allows the guiding camera to be attached within the same optical train that we use to take the photos.
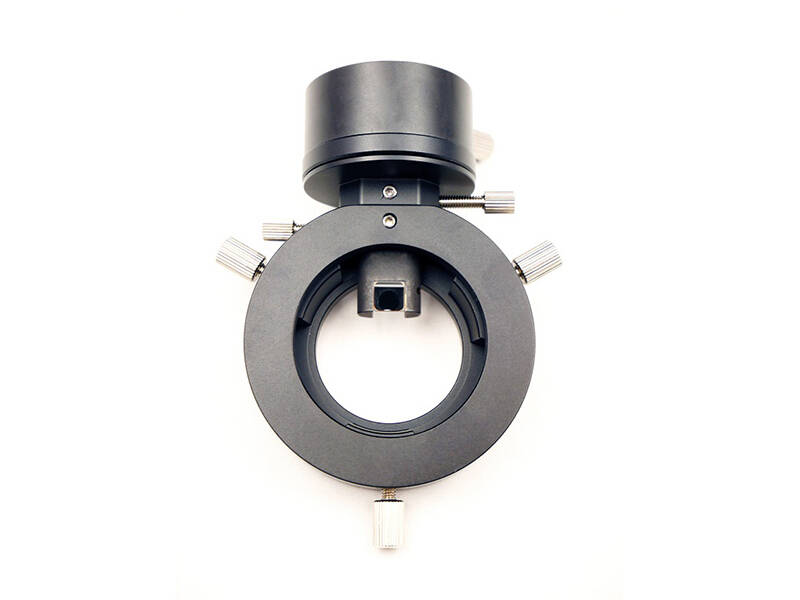
The accessory is an OAG (Off-Axis Guider), and its operation is very simple. It is a ring that stands between the telescope and the camera, which has a small prism. This prism captures part of the light coming from the telescope and reflects it perpendicularly to the optical axis of the telescope, allowing it to be projected into an eyepiece or a camera to receive the same image the other camera receives.
These accessories are usually more expensive in general than a guiding scope, but they are lighter in many cases and more comfortable. In addition, when guiding using the same telescope we obtain an extra precision since the displacement calculations are made on the same portion of the sky that we are capturing.
The one I use is the ZWO OAG, but there are other brands like the QHY, and cheaper ones.
Software
There are several guiding software, but the most used is PHD2. It is free and cross platform software.
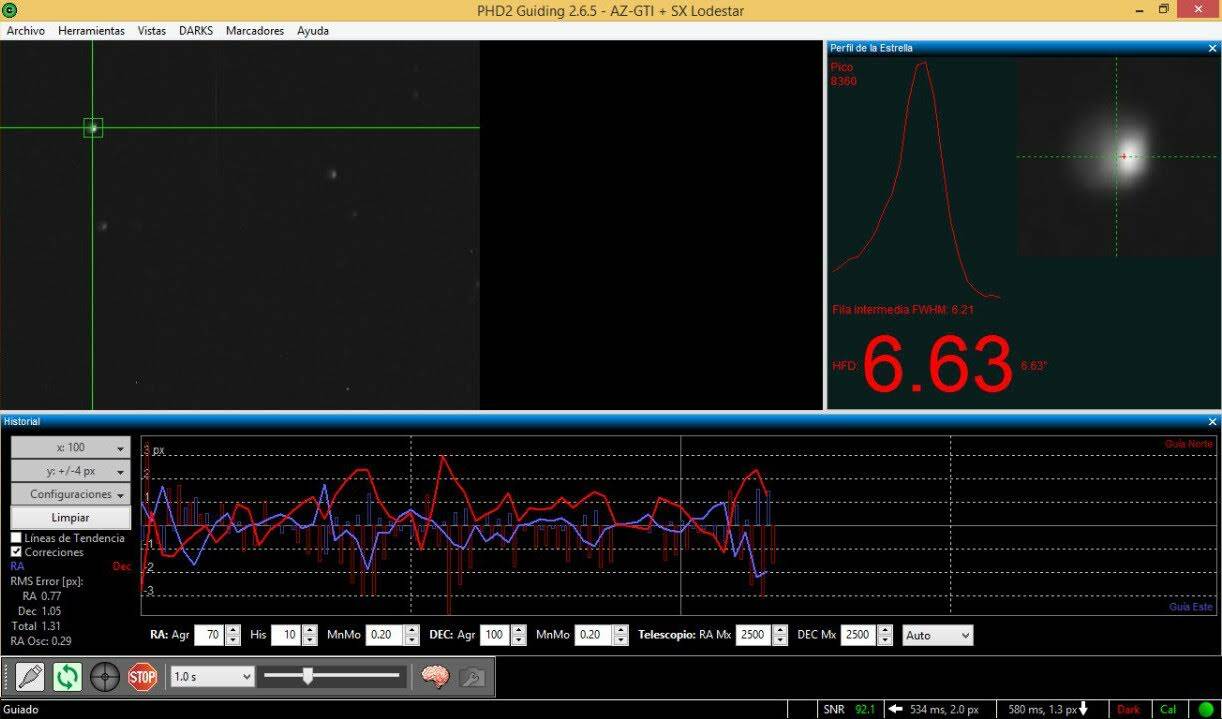
The software is the brain of the guiding system. It is responsible of analyzing each image that comes from the guiding camera and detects the displacement that the image has suffered since the last image was captured.
The precision of the calculations of this displacement is very high. This is due to the fact that we will have to calibrate the software beforehand so that it is able to check the amount of movement generated by each pulse on the mount, and the image quality calibration.
Normally, this type of software has tools to monitor the quality of the guidance, and with them we can verify how well we are getting the image to move as little as possible.
Autonomous guidance systems
There is also the possibility of using autonomous guidance systems that just connects to our mount and do not need software or computers to control them. The best known example is perhaps the Lacerta auto guiding equipment and the best known is the Lacerta MGEN II.
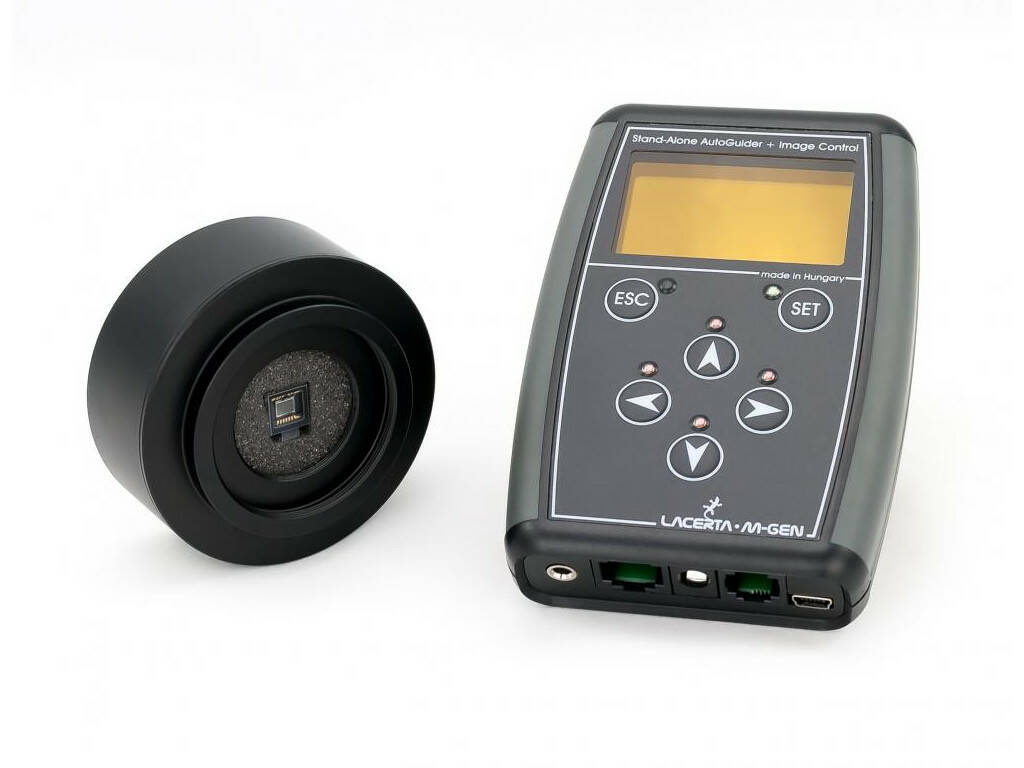
This option is very interesting for configurations without a computer and for its convenience when configuring them, but they also greatly increase the cost of the equipment.
Conclusions
This article aims to be an introduction to the guided itself. I hope that basic concepts about guiding that we will use in the following article will be clear.
In the next article I will give details about the low cost guiding equipment that I use in my sessions and its configuration.
If you have any questions or have information that you want to share, contact me through my twitter account.