Portable setup with AZ-GTi and ASIAIR Pro
As I have been saying from time to time, one of the tips I was given when I started in this hobby was:
Look for a setup that is portable. The heavier the equipment, the more difficult it is to carry it around for an astronomy session.
From those first moments I have always tried to follow that maxim, always looking for the most optimal way of transport and assembly to spend the least time and effort possible to carry and assemble the setup.
Since during the beginning of 2020 it was very difficult to get out of observation due to lockdowns and curfews, I decided to spend some time improving my current equipment trying to optimize it to have two functional astrophotography setups.
I wanted one of the rigs to be my main rig, more powerful (but also heavier and less portable), and on the other hand, I also wanted a very portable rig with enough power to capture the sky decently.
In this article I am going to talk about that second configuration. A setup that, today, fits in a suitcase, weighs less than 8Kg and has everything you need to obtain images with more than decent quality.
The only thing that doesn't fit in my suitcase is the tripod.
First version
The first version I prepared of this equipment is different from the one I currently use. However, I will first explain it since many of the components are still common and then I will explain the changes, the reasons and benefits that I have obtained.
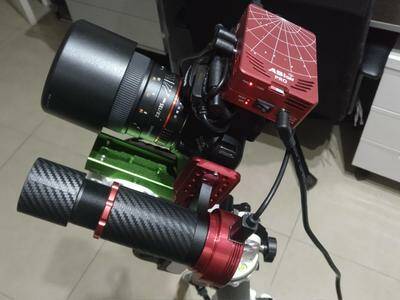
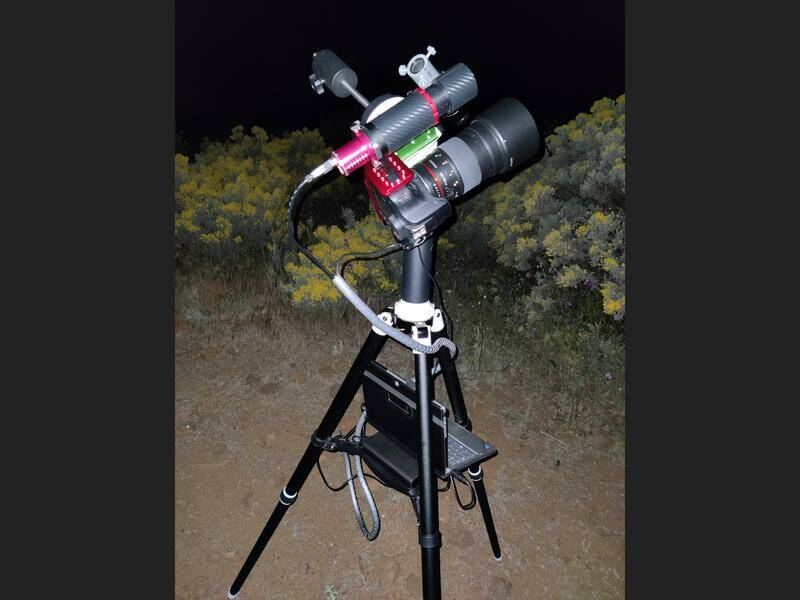
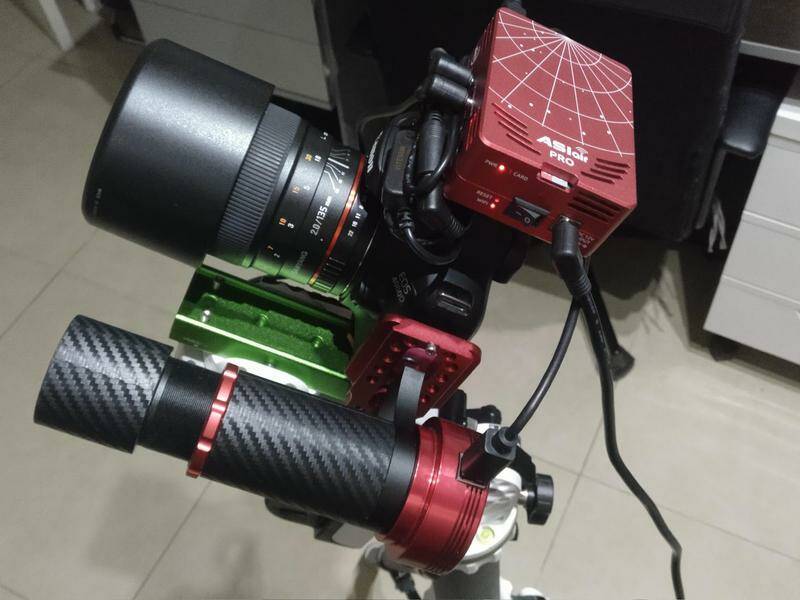
In the picture you can see this first configuration in full operation.
Mount
The mount chosen for this configuration could not be other than the AZ-GTi. I have already talked about it in several of my articles, and I will continue to say that it is a very portable mount and, for setups of this kind, it is a marvel given its price.
I used this mount in my first setup with a 72ED but now I am using it with this more portable rig and in the main rig I have switched to an EQ6 Pro.
I do the polar alignment with a DIY collimated finder that I describe in this article.
In the mount I have put a counterweight of 1 Kg to balance the weight of the equipment.
Main camera
The main camera I use on this rig is my old Canon 4000D, which was the first astrophotography camera. Since it doesn't have an interval timer port, the best way to use it is by using any capture software, so I spent some money buying a Baader BCF filter to change the stock IR cut filter and get better performance with emission nebulae.
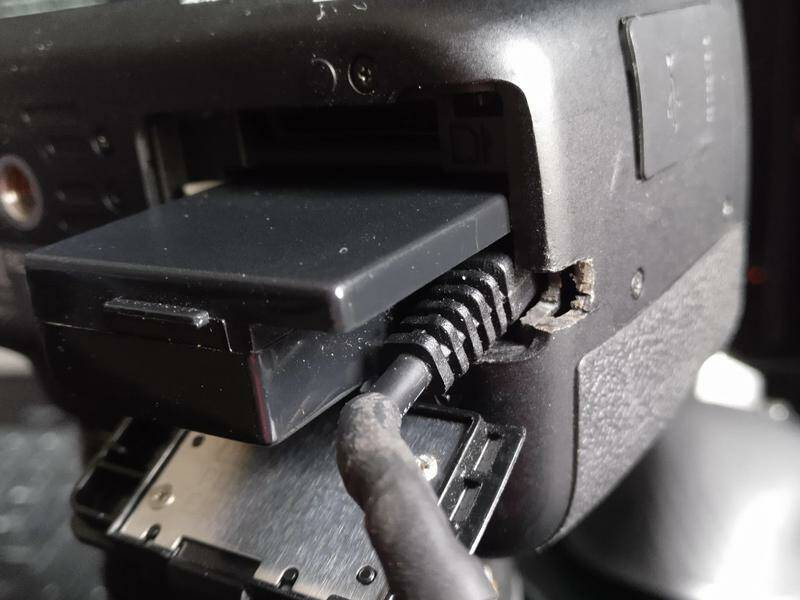
To power the camera I chose to use a dummy battery with a power cable, in this case USB, to power it with a powerbank. Unfortunately the 4000D doesn't have the dummy battery option, so I had to make a cut in the battery area to get the cable out of the camera.
Lens
The lens used in this setup is a Samyang 135mm f2.0, although being a DSLR camera it is very easy to change the lens if necessary. However, the Samyang 135 is an excellent lens with a very interesting field for capturing many areas of the sky.
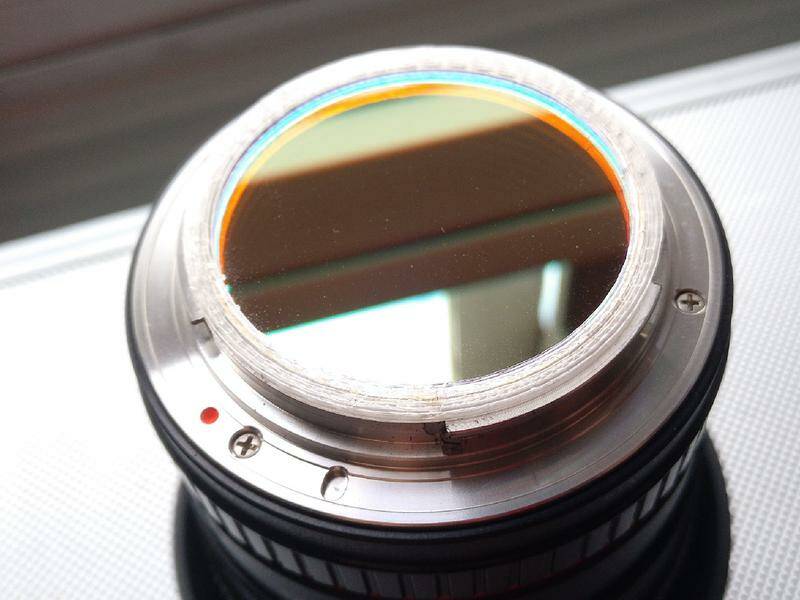
In this setup I usually use a 2" Optolong l-eNnhance filter that I have removed from its aluminum frame and fitted it to the bottom of the lens with a small 3D printed part, allowing me to use equipment even in highly light polluted areas.
Guiding
For guiding I use a cheap mini scope from Aliexpress that I used before with the 72ED in my main setup.
I screwed the mini scope to the side of an L photography shoe to which I have also added a dovetail.
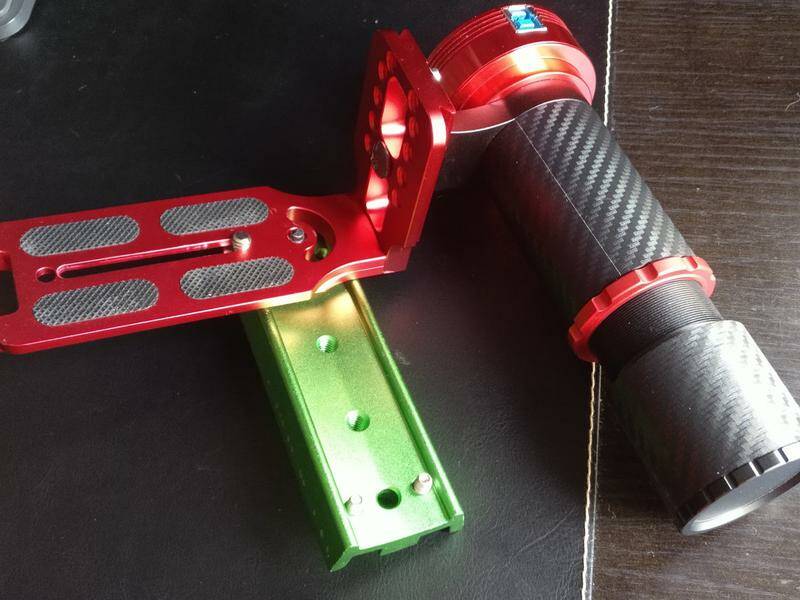
This way, I can have both the main camera and the guide tube in the same structure and firmly attached to the AZ-GTi.
As the guiding camera I used a T7Astro camera (a clone of the ASI120MC). I had to change it in the new version for compatibility reasons.
Control system
In this configuration I used a hybrid Lenovo Miix320 Mini PC.
A fairly modest computer but with a battery life that allowed me to use it throughout the night, and with the necessary power to be able to run the software I needed:
- Mount Control: Synscan App
- Guiding control: PHD2
- Capture control: APT Astro Photography Tool
- Planetarium: Stellarium
Power
In this first version, it powered the AZ-GTi with a pack of 8 AA rechargeable batteries, and the 4000D with a 20,000 mAh USB Powerbank. The guiding camera was powered directly from the USB of the mini PC, and the mini PC does not need external power.
Anyway, I always carried two power banks in case the power failed or if I needed to charge the mini PC since it also works at 5 volts.
Second version (current)
After using this setup for a while, and despite being very happy with its performance, I decided to make some changes to make it even more portable.
The main problems I had with this setup were mainly the cable management (I hate cables) and that the computer, despite being quite small, is a bit heavy and unconfortable to handle in sessions.
Taking advantage of the fact that I bought the ASIAIR Plus for my main setup, I put the ASIAIR Pro in this rig.
Most significant changes
Now that I use the ASIAIR Pro, I only need the ZWO ASIAIR app on the tablet or srmartphone, so I don't need the MiniPC anymore. In addition, I use the same tablet to control both the portable equipment and the main equipment.
Now the assembly is more comfortable and I don't have so many cables hanging around.
The ASIAIR Pro requires a 12 volt power supply. This implies using a battery to power it, since power banks work at 5 volts.
Although the car battery is heavier, it has several advantages in this case:
- Everything is powered by a single cable as the camera and mount are powered directly from the ASIAIR Pro
- I don't need to charge several different batteries before each session to have the equipment ready since I don't have to use the rechargeable batteries in the mount or the powerbank or the mini PC.
- The battery has enough capacity to use the main setup together with this secondary setup.
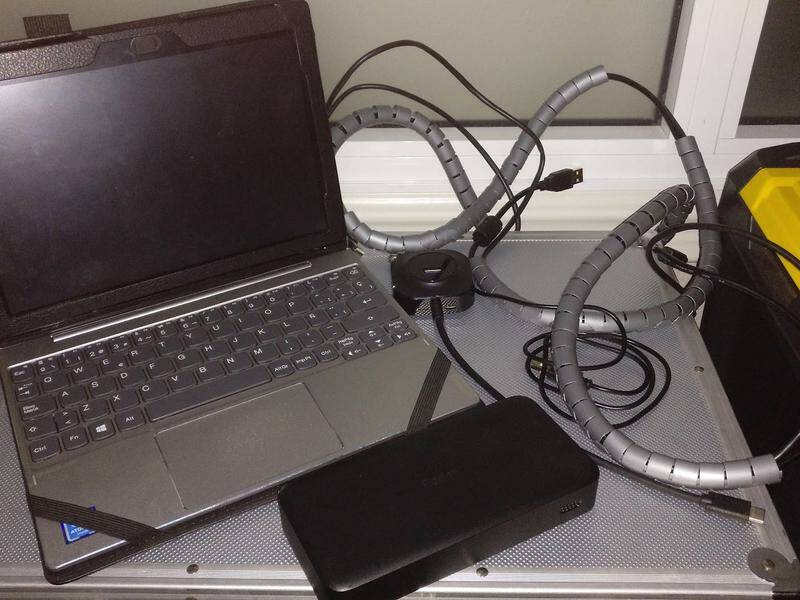
In this photo you can see what I have removed from the previous setup.
Guiding camera change
On the other hand, the change to the ASIAIR Pro has meant changing the guiding camera, since the ASIAIR Pro is not compatible with the ASI120MM and ASI120MC cameras (of which the T7Astro is a clone). I have replaced it with an ASI120MC-S that is compatible although it is basically the same camera but with USB3.
Weight reduction and ease of transport
The complete kit fits in a 18" x 14" x 6" tool case made of aluminum like the one you can find in almost any hardware store.
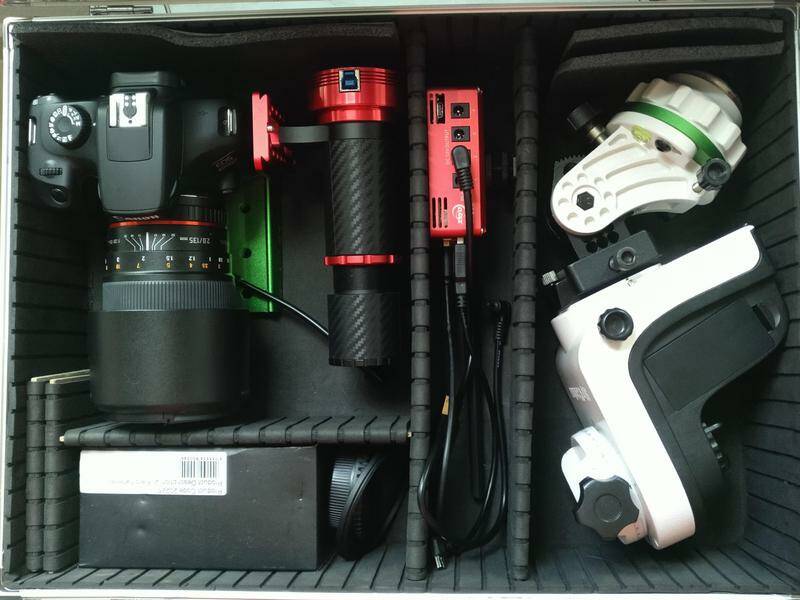
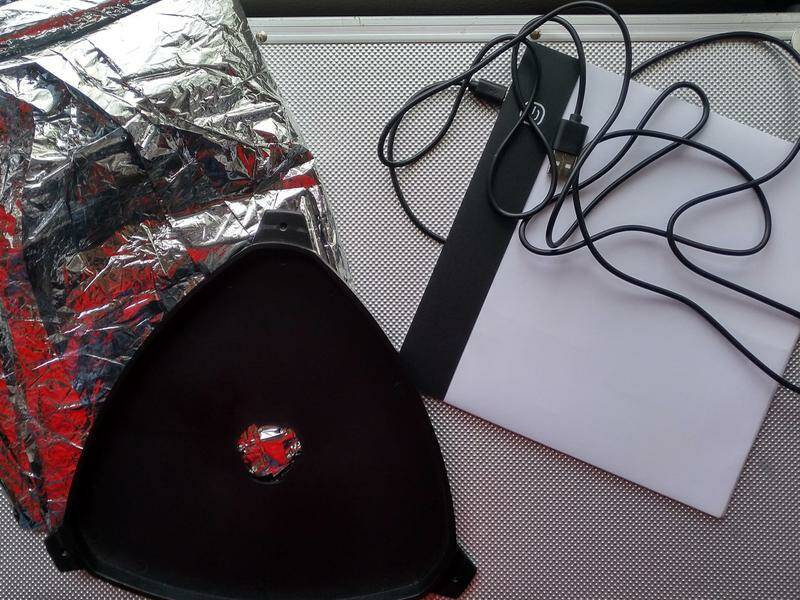
I also carry a thermal blanket to cover the equipment if necessary, a led panel to capture flats and the stabilizer plate of the tripod. All behind a separation panel that has the top cover of the suitcase.
The weight of the equipment has been reduced considerably. I have removed the counterweight since the AZ-GTi can perfectly handle the weight of the camera and now the entire equipment weighs about 7.6 Kg including the carrying case.

Conclusions
After testing the equipment on multiple occasions, I can say that I have achieved a very powerful and very compact configuration.
The versatility, ease of assembly and portability of this equipment makes it ideal to take it anywhere and start taking photos in 20 minutes.
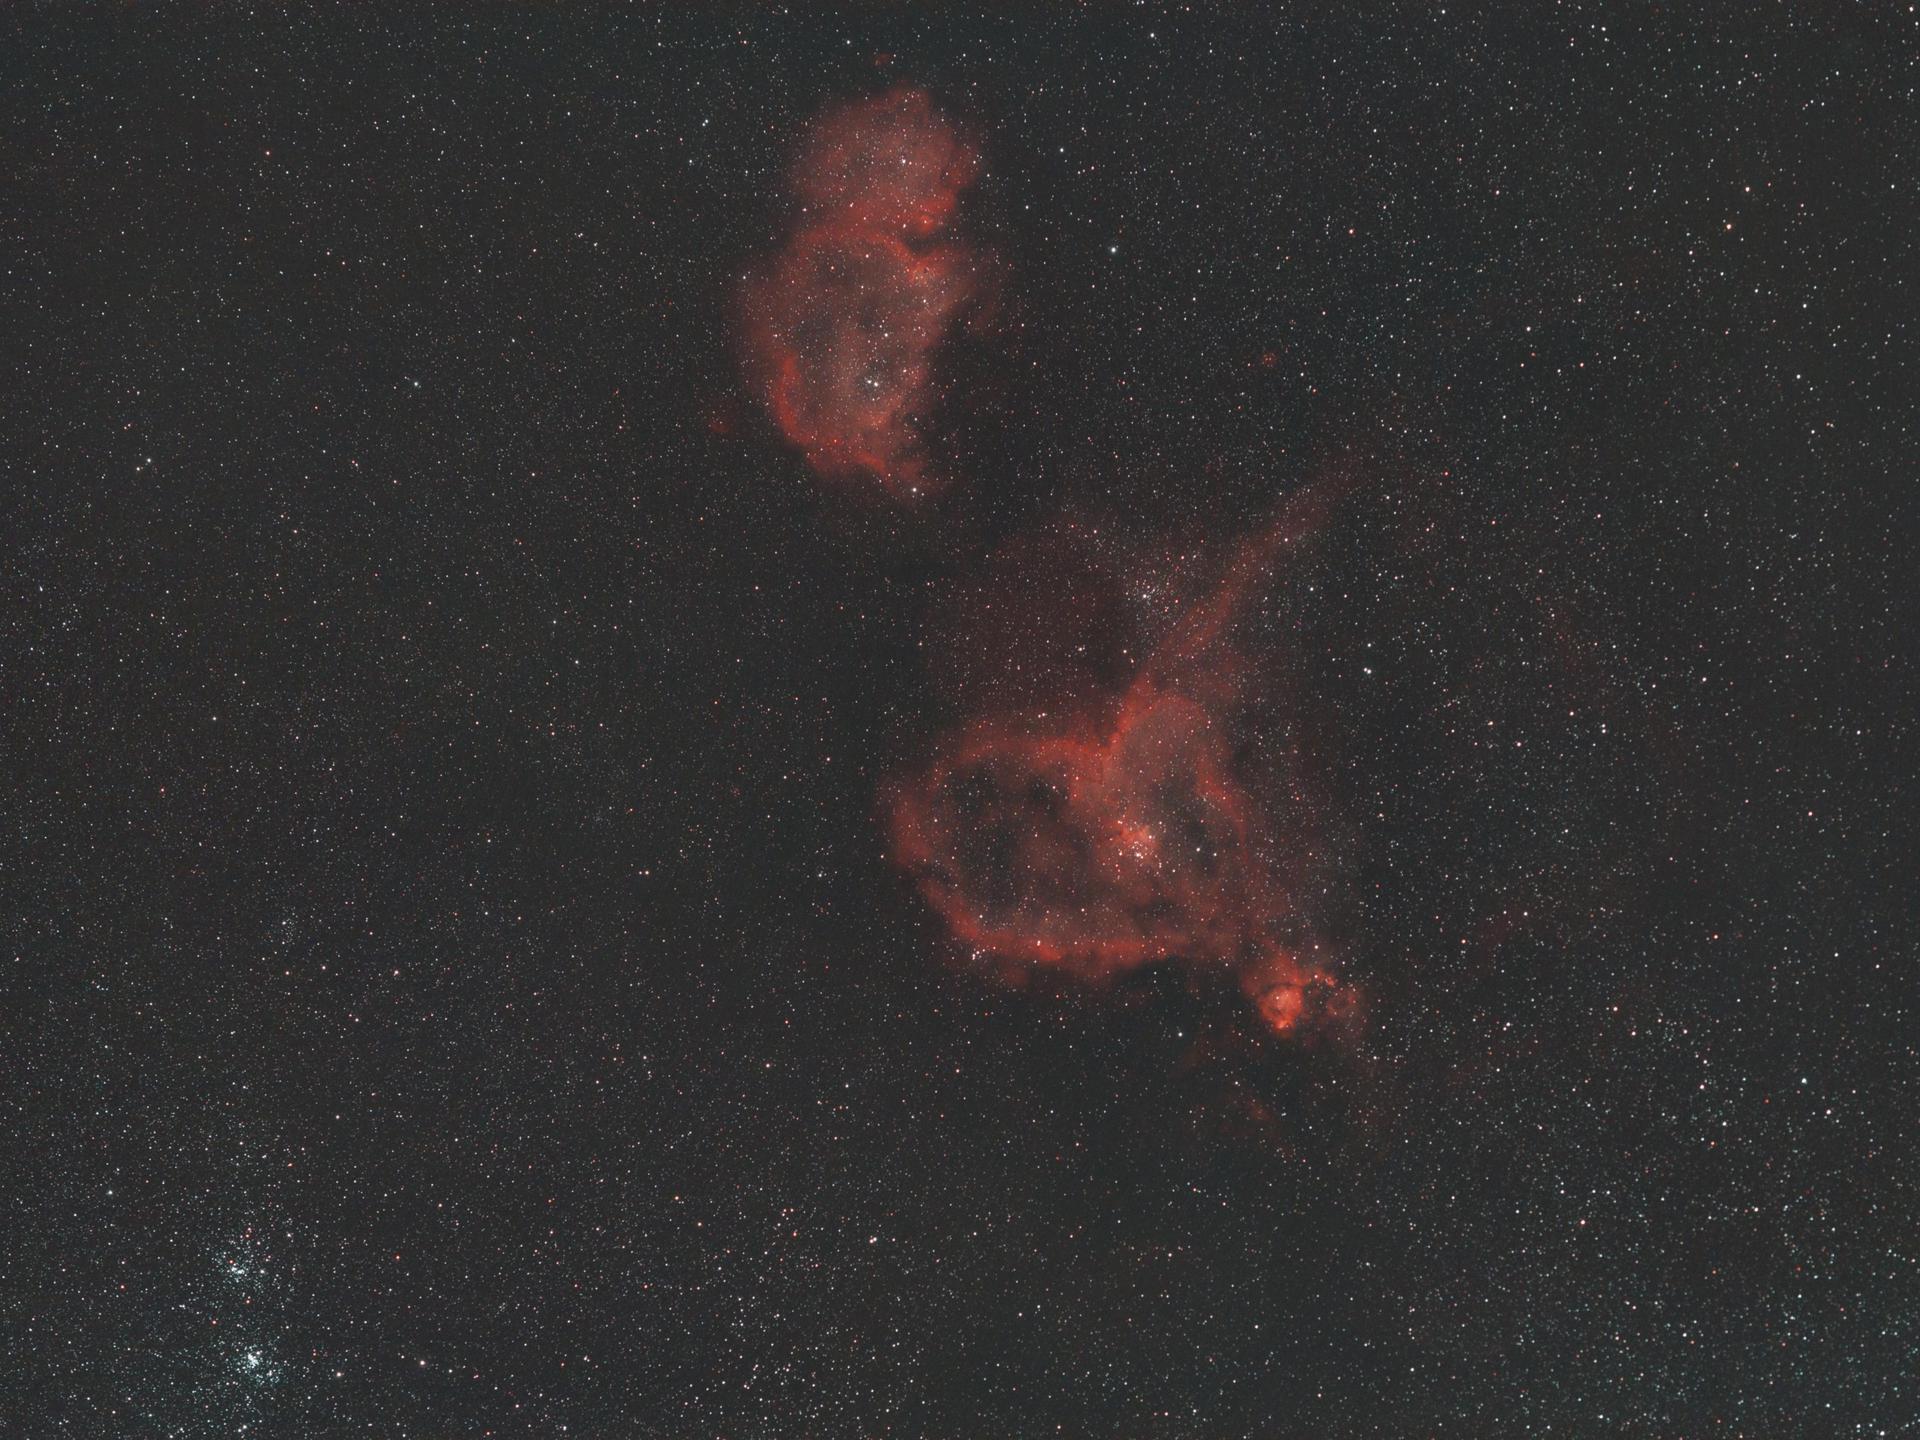
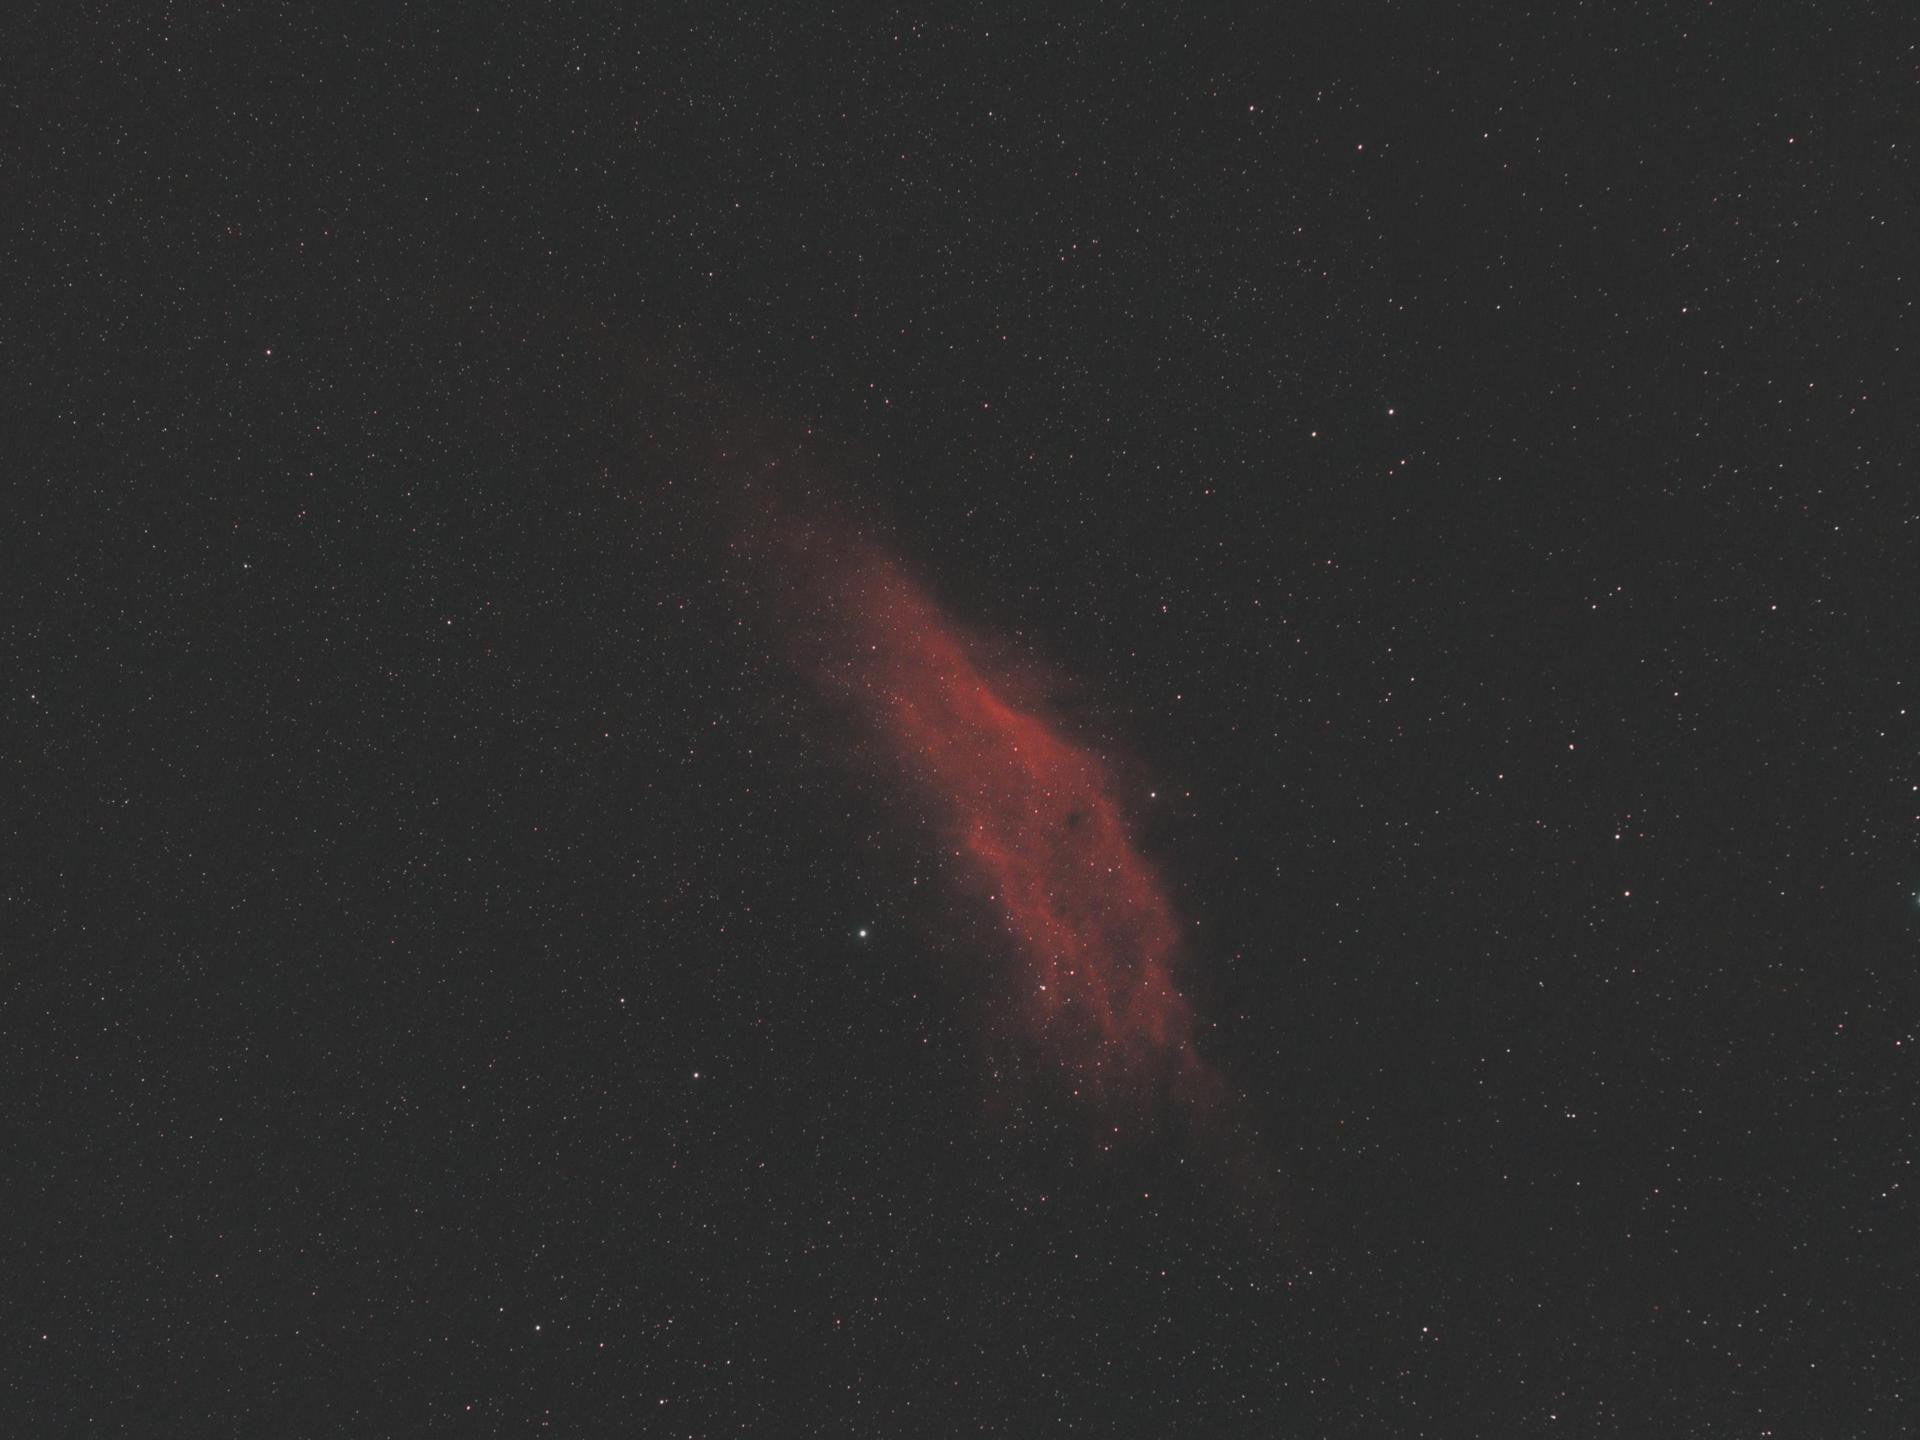
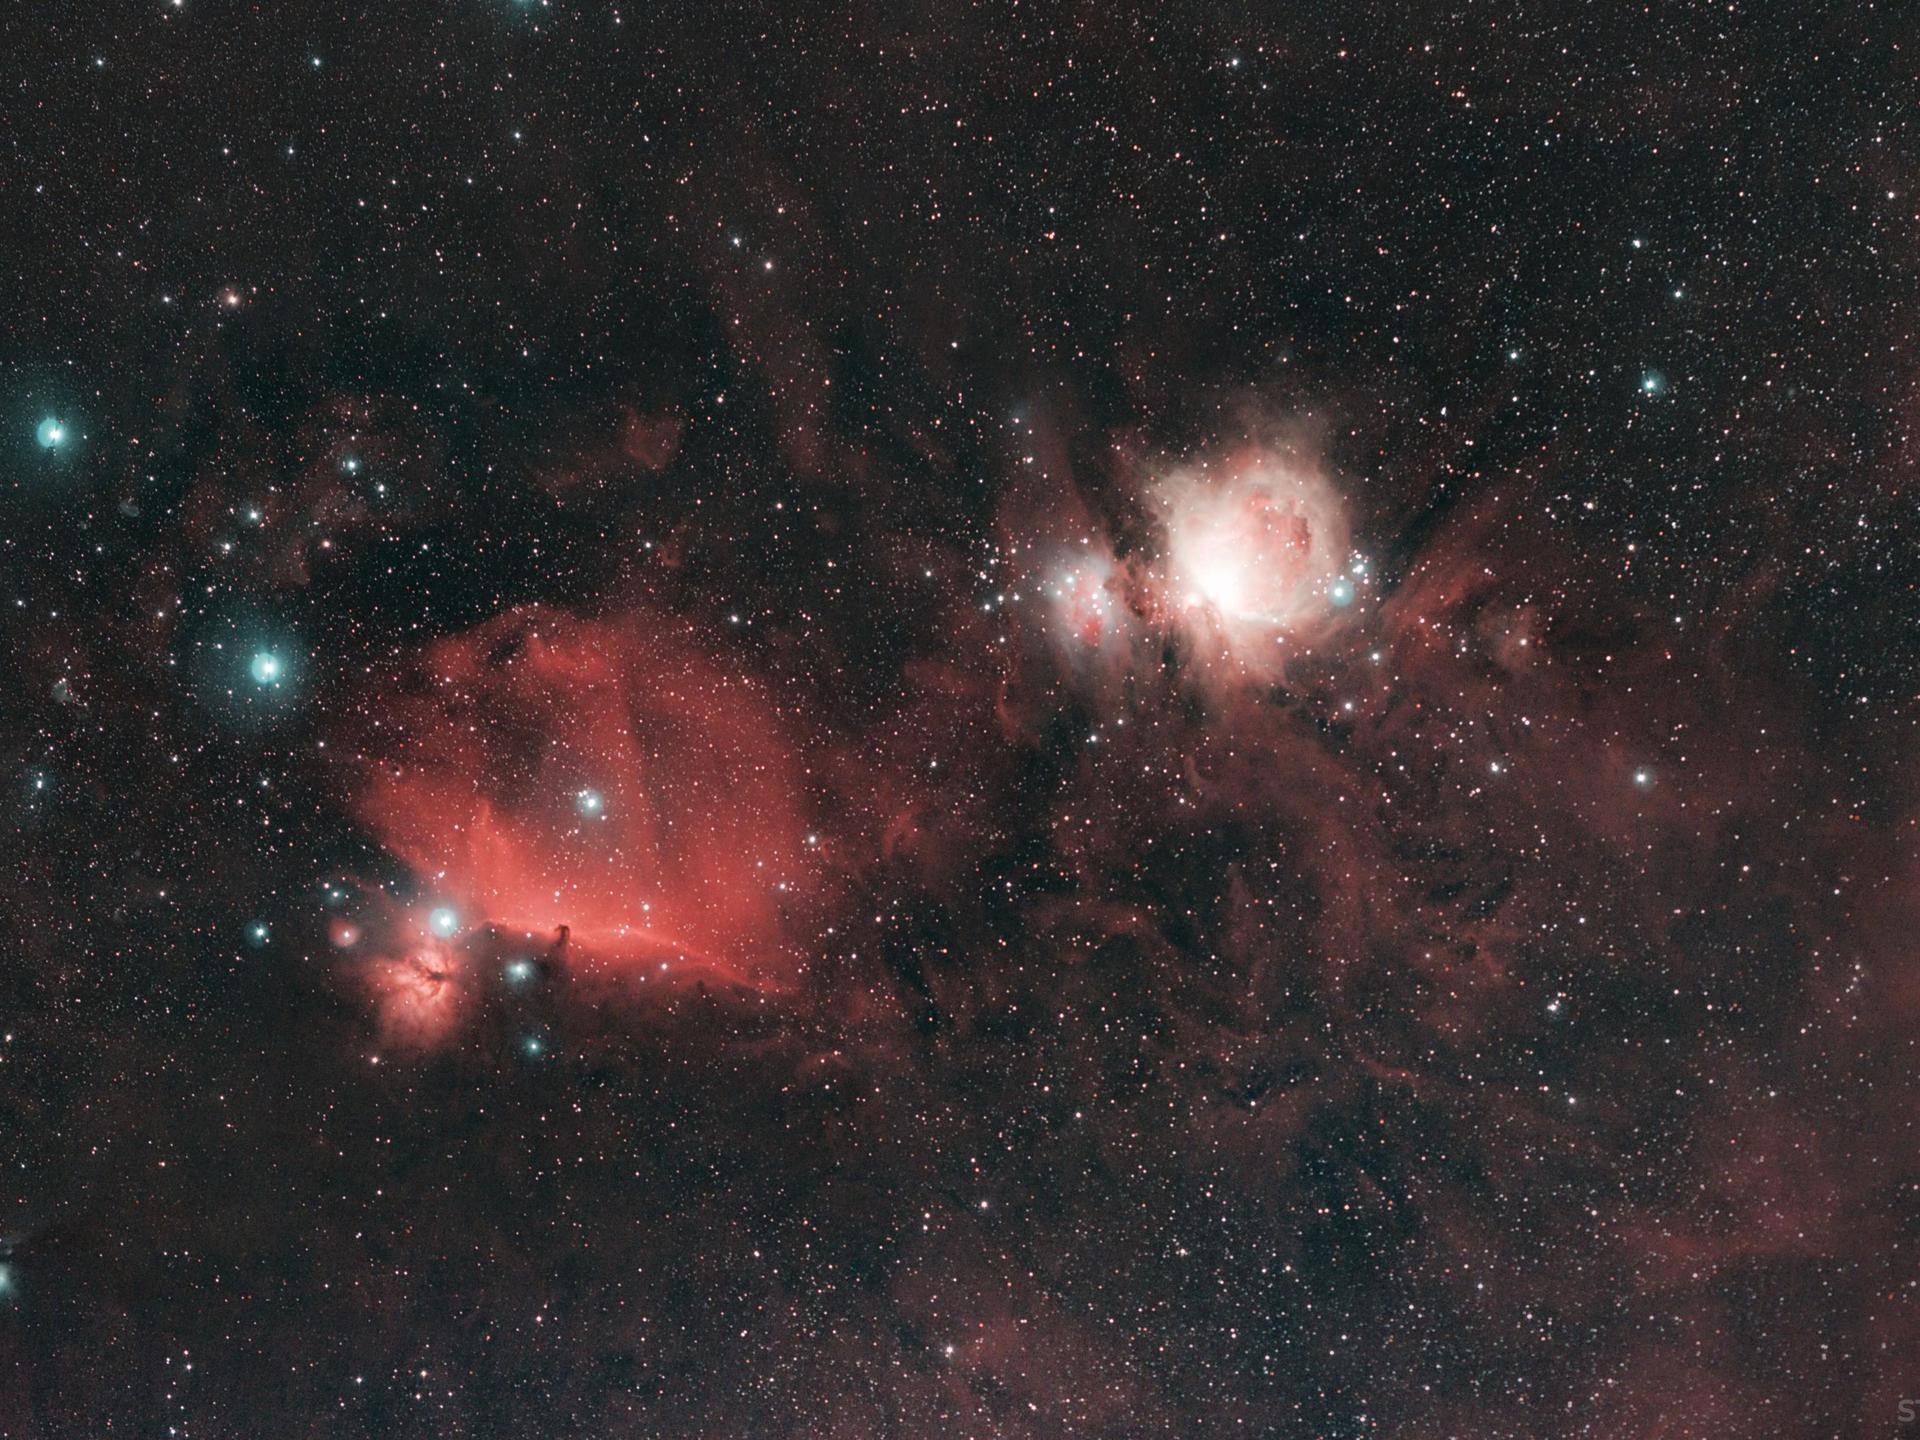
Here are some examples of images taken with this equipment.